DVS Viewer
Version: 1.5.0 — this guide is based on this release.
Stream from a DELTA camera, record event data, and review your recordings in one application. Screenshots show the Windows version.
Connect a camera
- 01Select a cameraChoose the connected device.
- 02Apply a settingUse a file for your camera model.
- 03Start streamingView events and begin recording.
1. Select the data source
Connect the camera by USB and launch DVS Viewer. In Devices found, select the camera and click Display. You can select up to two devices. The list shows the model, serial number when available, and connected USB speed.
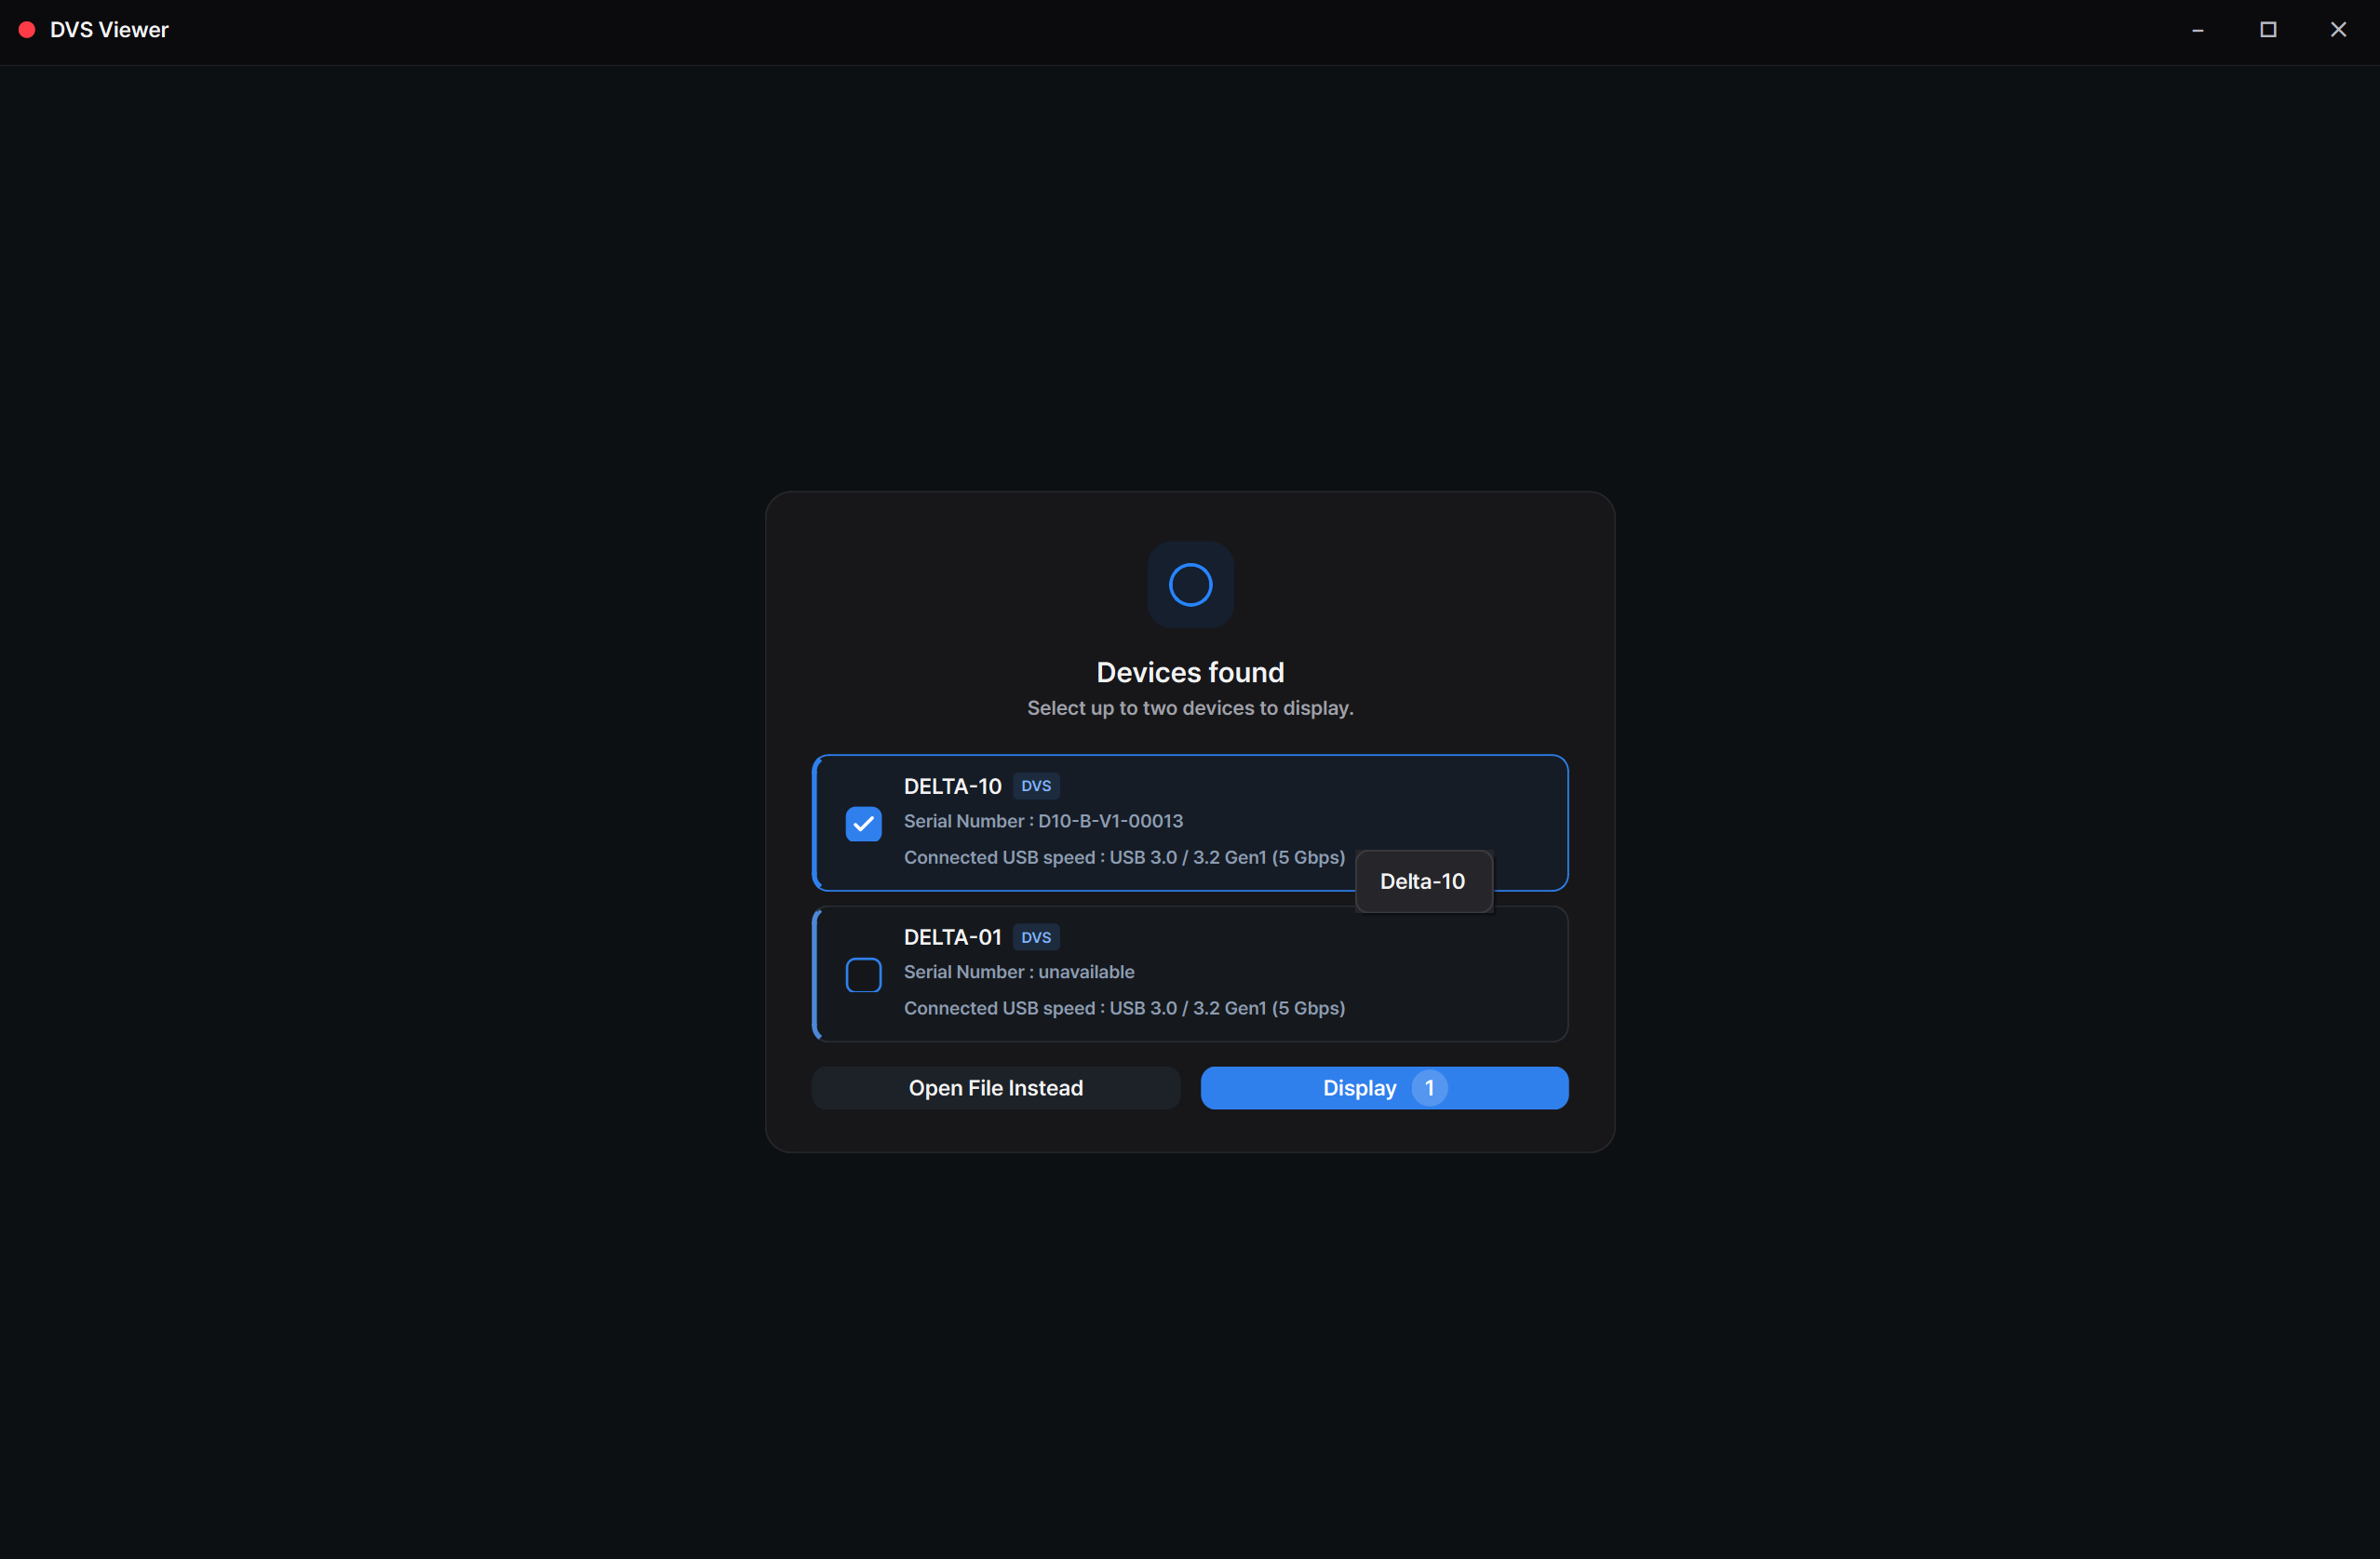
If the camera is missing from the list, follow the driver and connection steps in Installation.
2. Select and apply a camera setting
Move the pointer over the image to reveal the camera toolbar. 1. Device selects the camera. 2. Setting selects a .txt file and starts applying it to that camera. 3. The folder button opens a setting file from another location and applies the selected file in the same way. Selecting a file configures the camera; it does not start normal streaming.
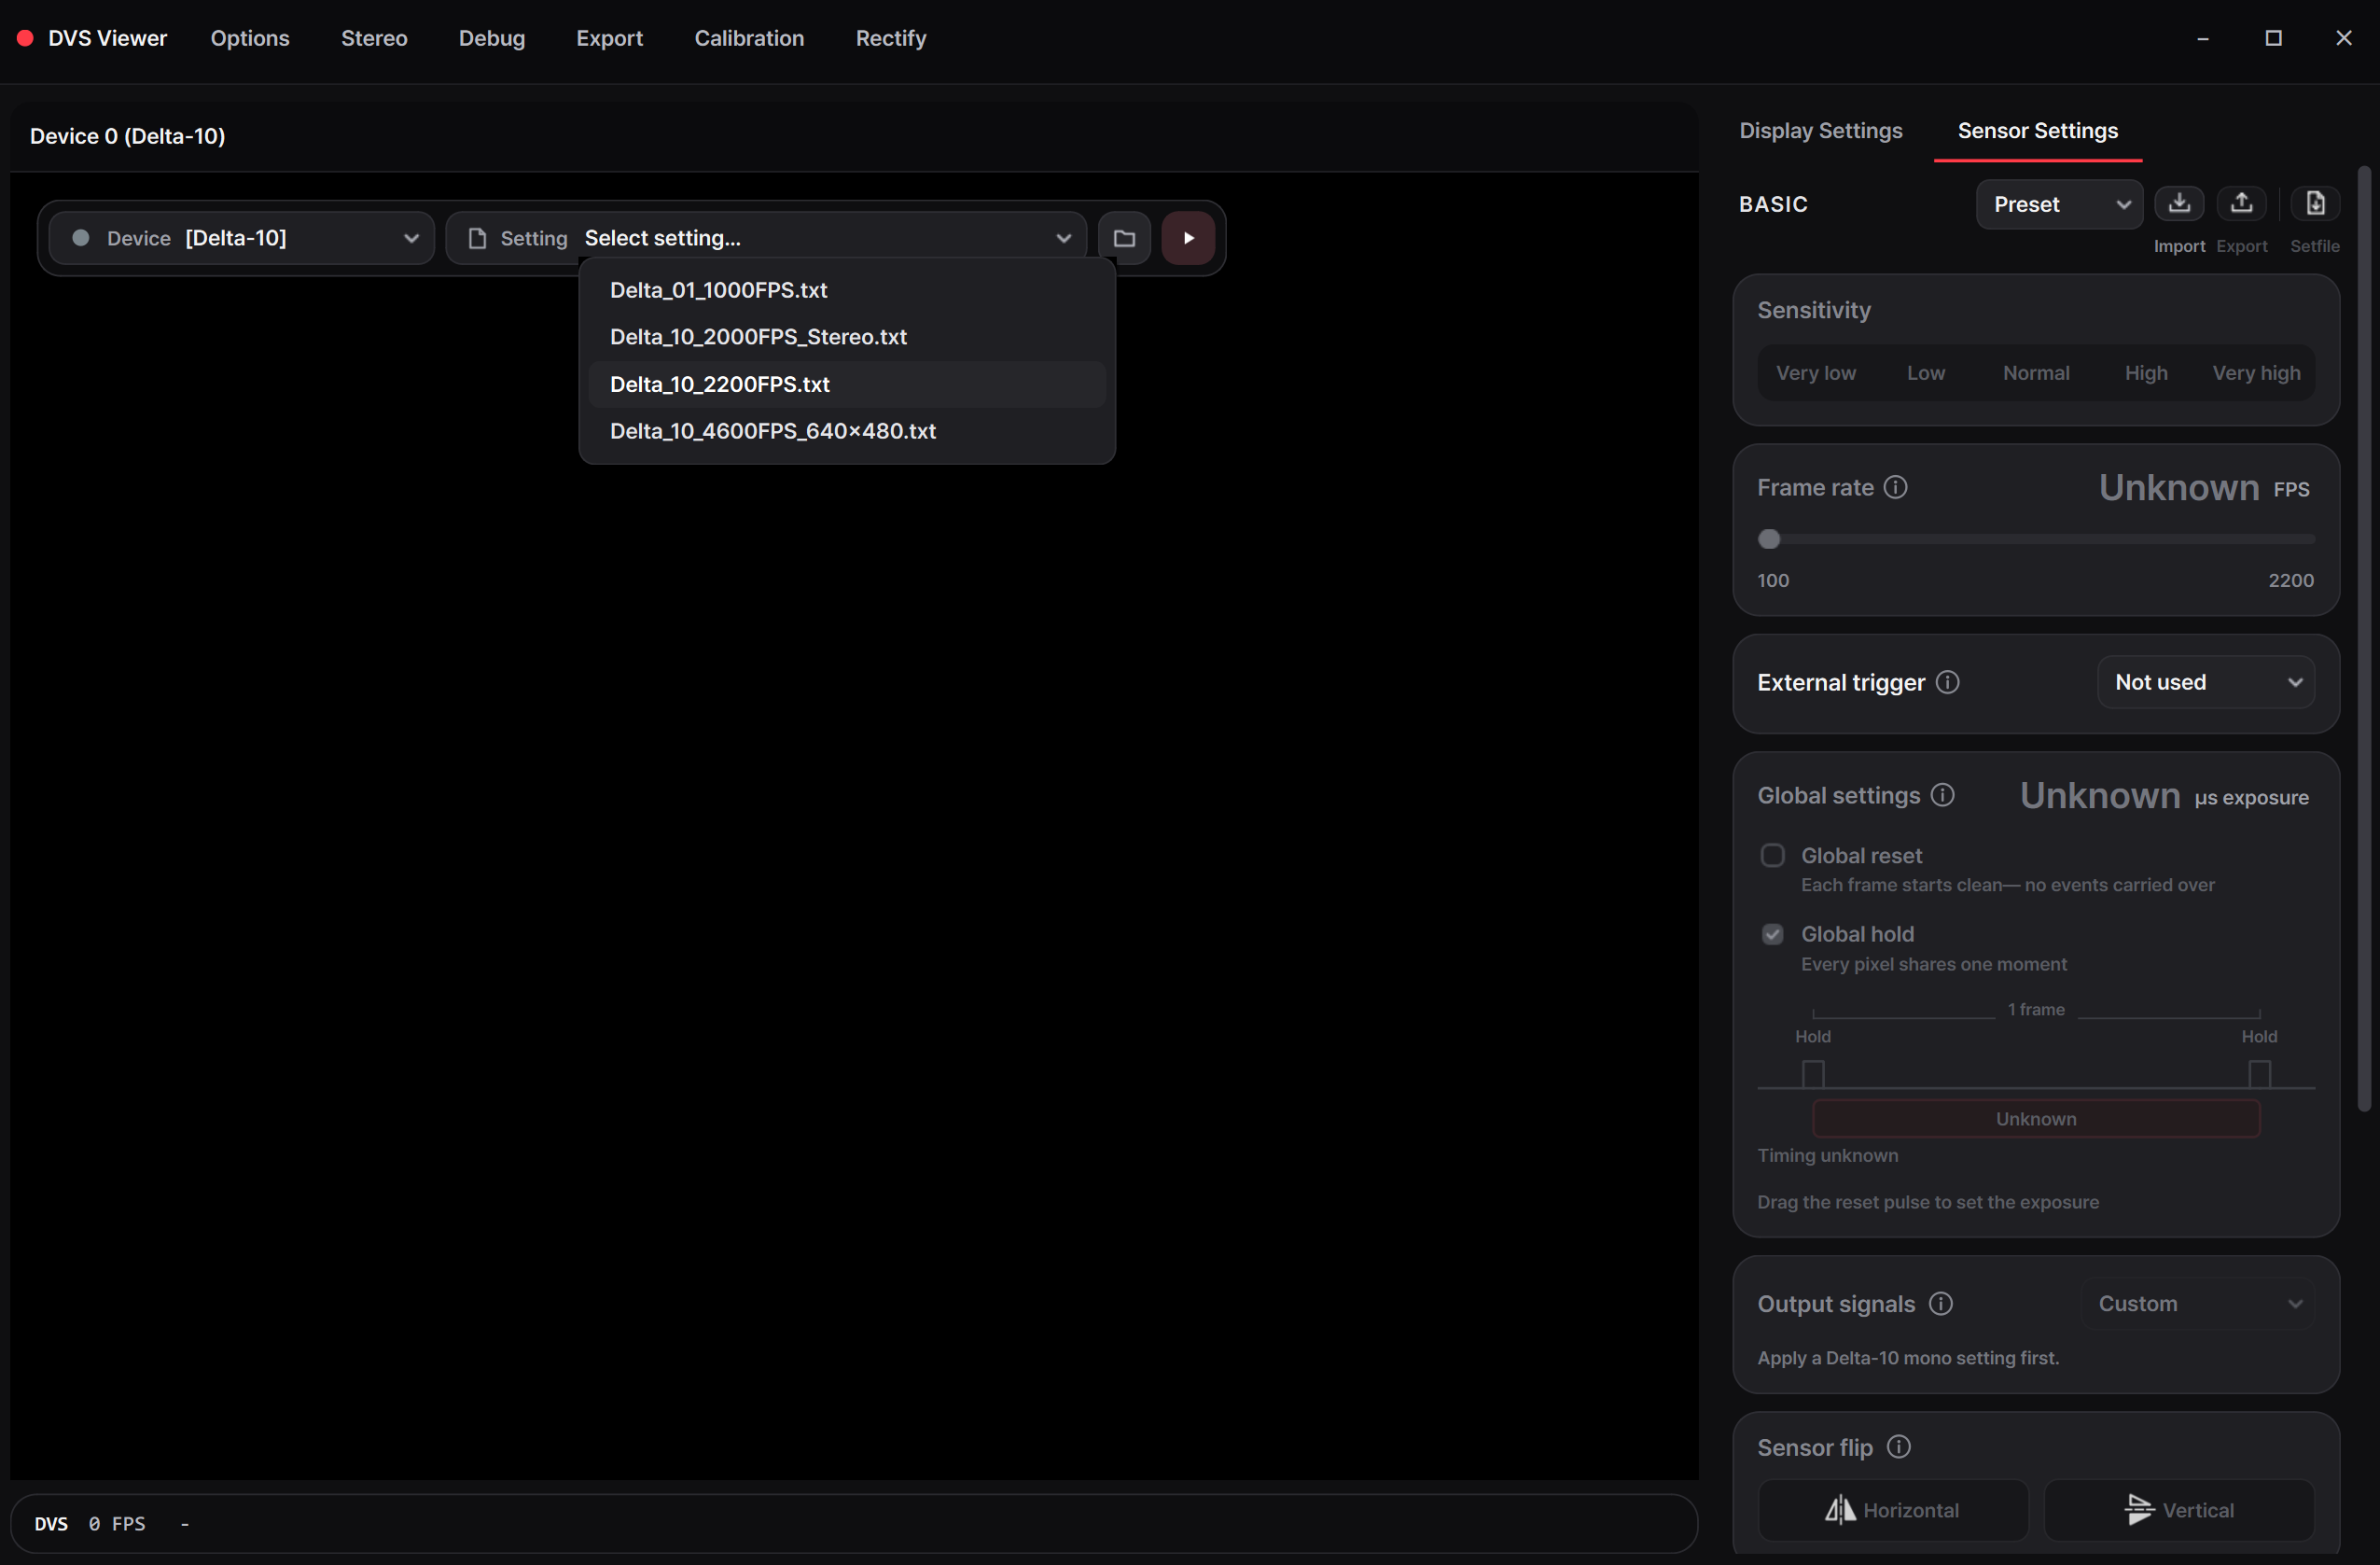
After selecting a setting file:
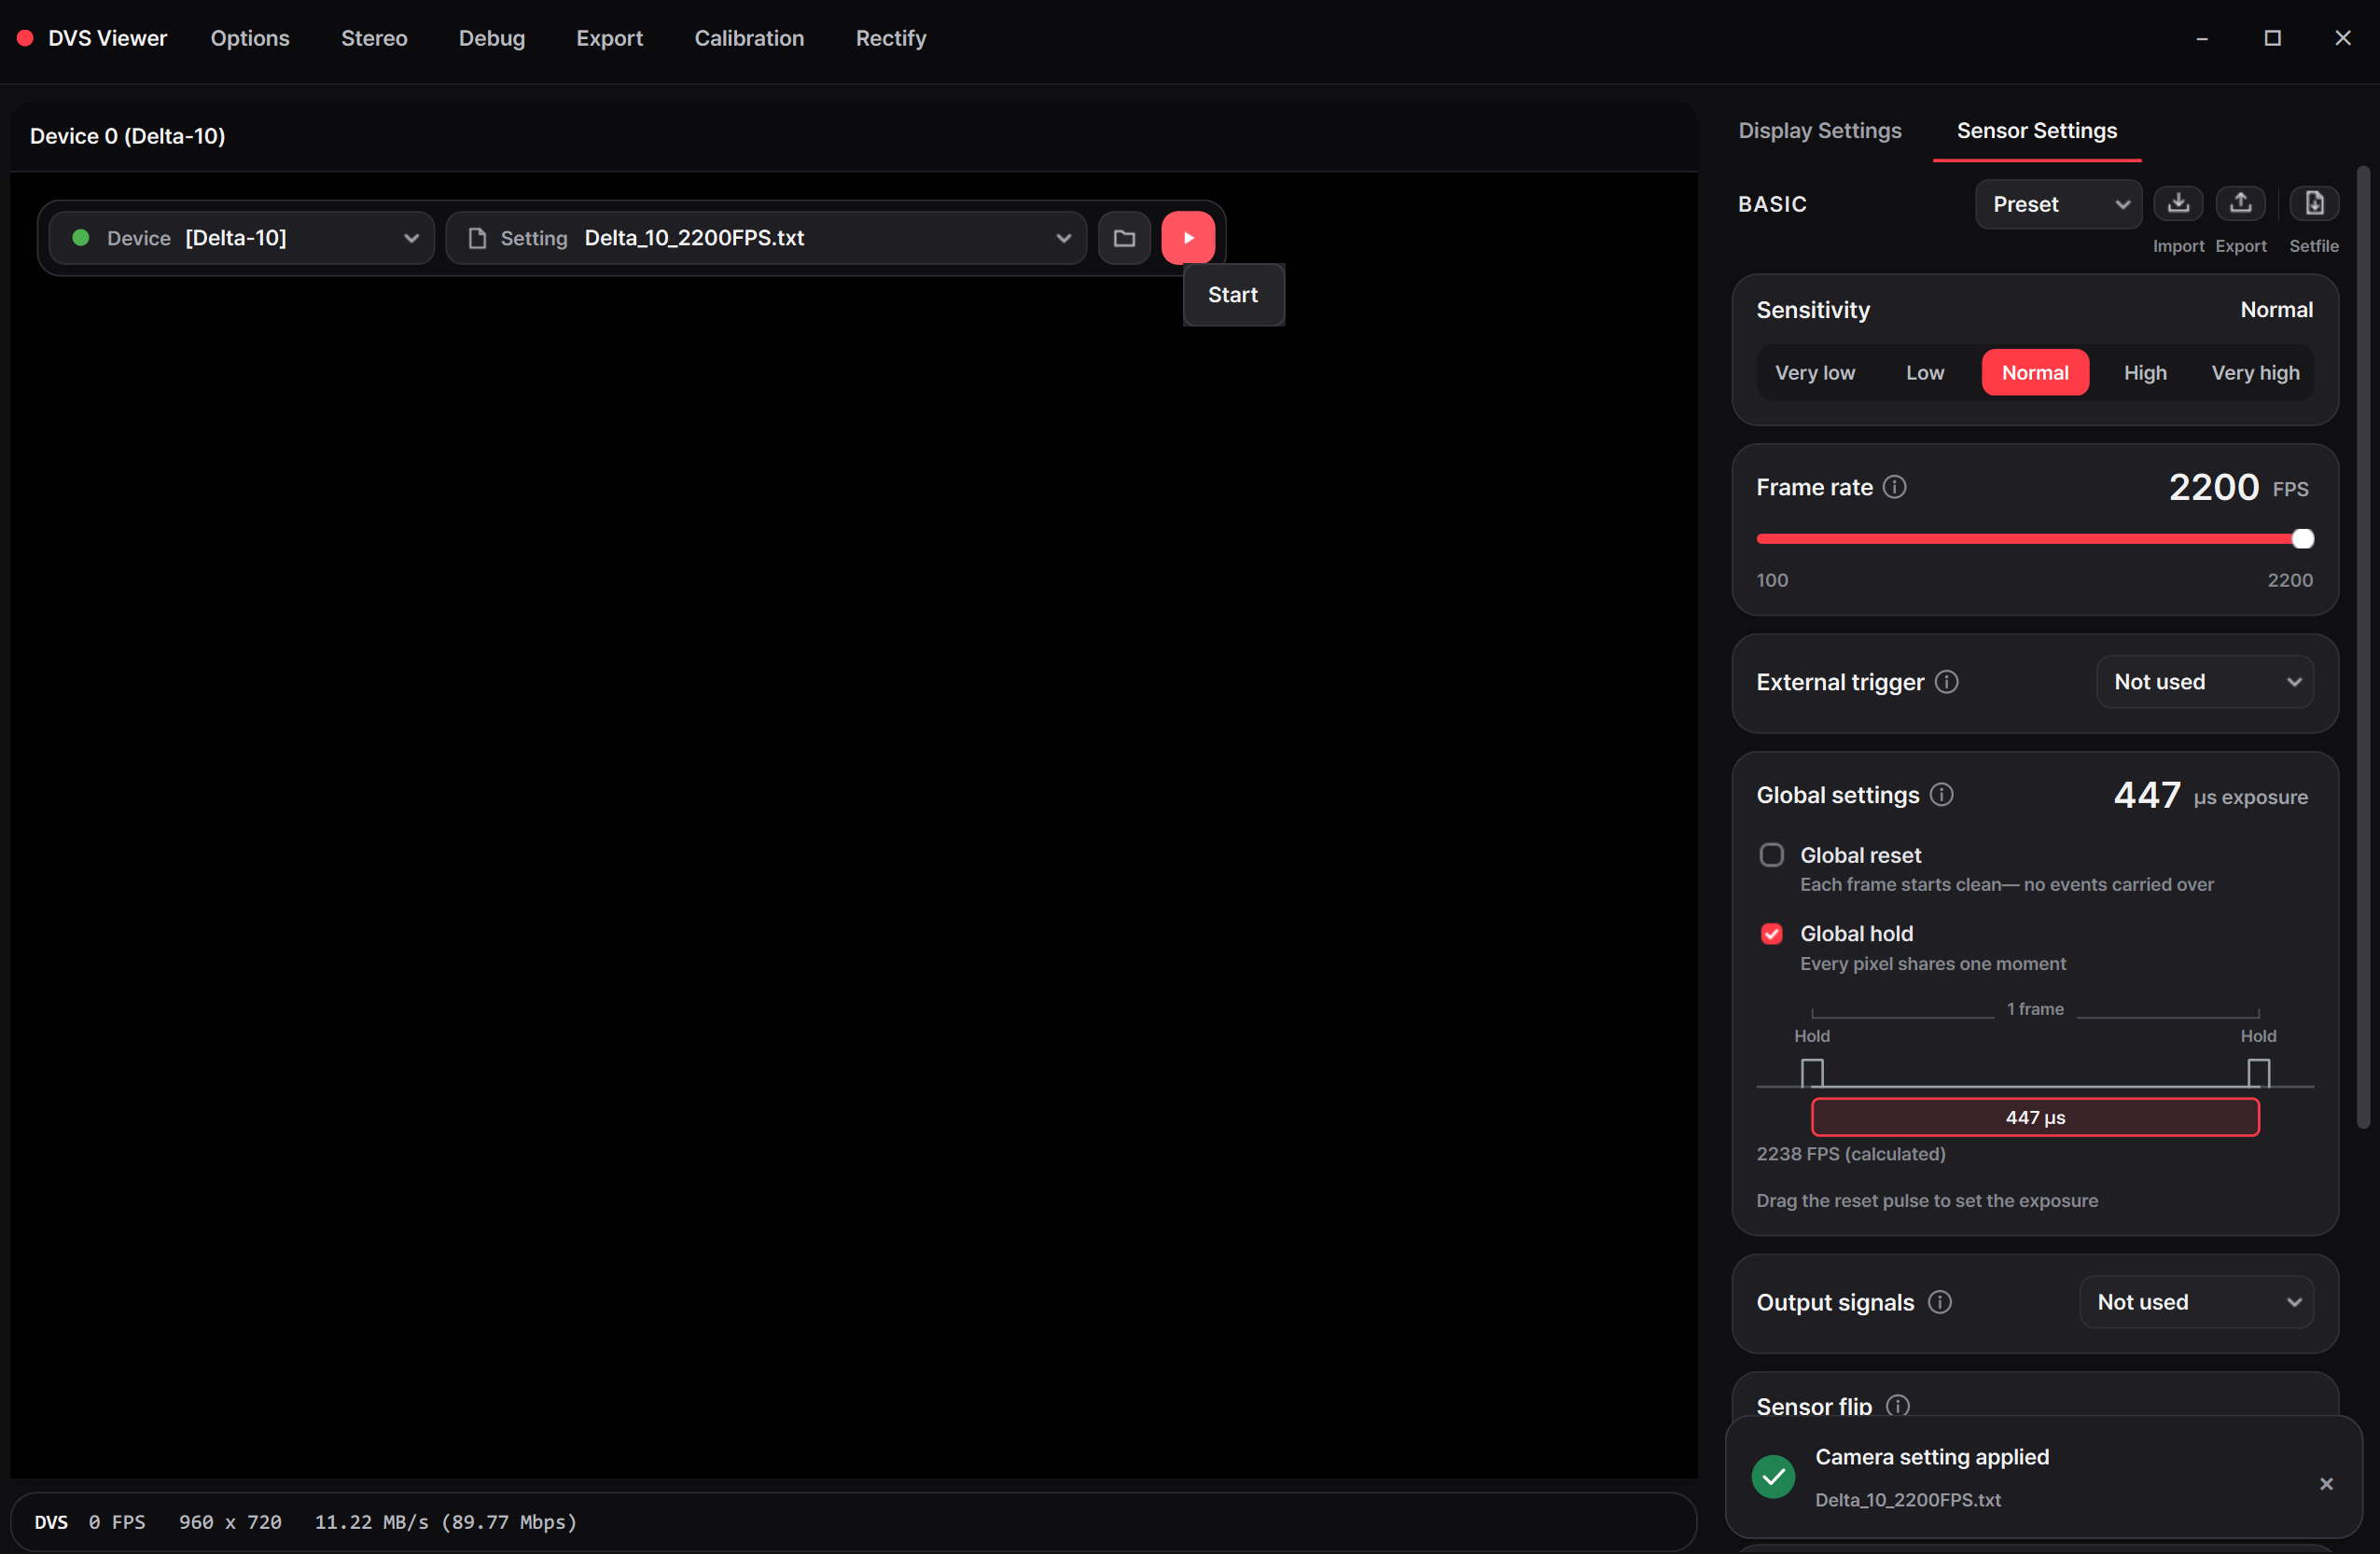
- Wait for the Camera setting applied notification at the bottom right. This confirms that setting application has completed.
- The triangular Start button in the camera toolbar becomes available. Click Start to begin live streaming.
The image below shows the completed state: 1 is the confirmation, followed by 2, the Start control used for the next step.
Standard setting files and automatic application
| Camera | Standard full-sensor setting | Target frame rate |
|---|---|---|
| DELTA-01 | Delta_01_1000FPS.txt |
1,000 FPS |
| DELTA-10 | Delta_10_2200FPS.txt |
2,200 FPS |
The DELTA-10 2,200 FPS setting is included with the Viewer. For higher frame rates at smaller resolutions, download an additional high-speed preset, place it in the Viewer's settings folder, and select it here. Match the setting to the camera model; stereo settings are for the corresponding stereo configuration.
Under Options, Auto-apply recommended setting on camera select applies the recommended file automatically when you select a camera. With this option off, select the required file yourself.
3. Start and stop live streaming
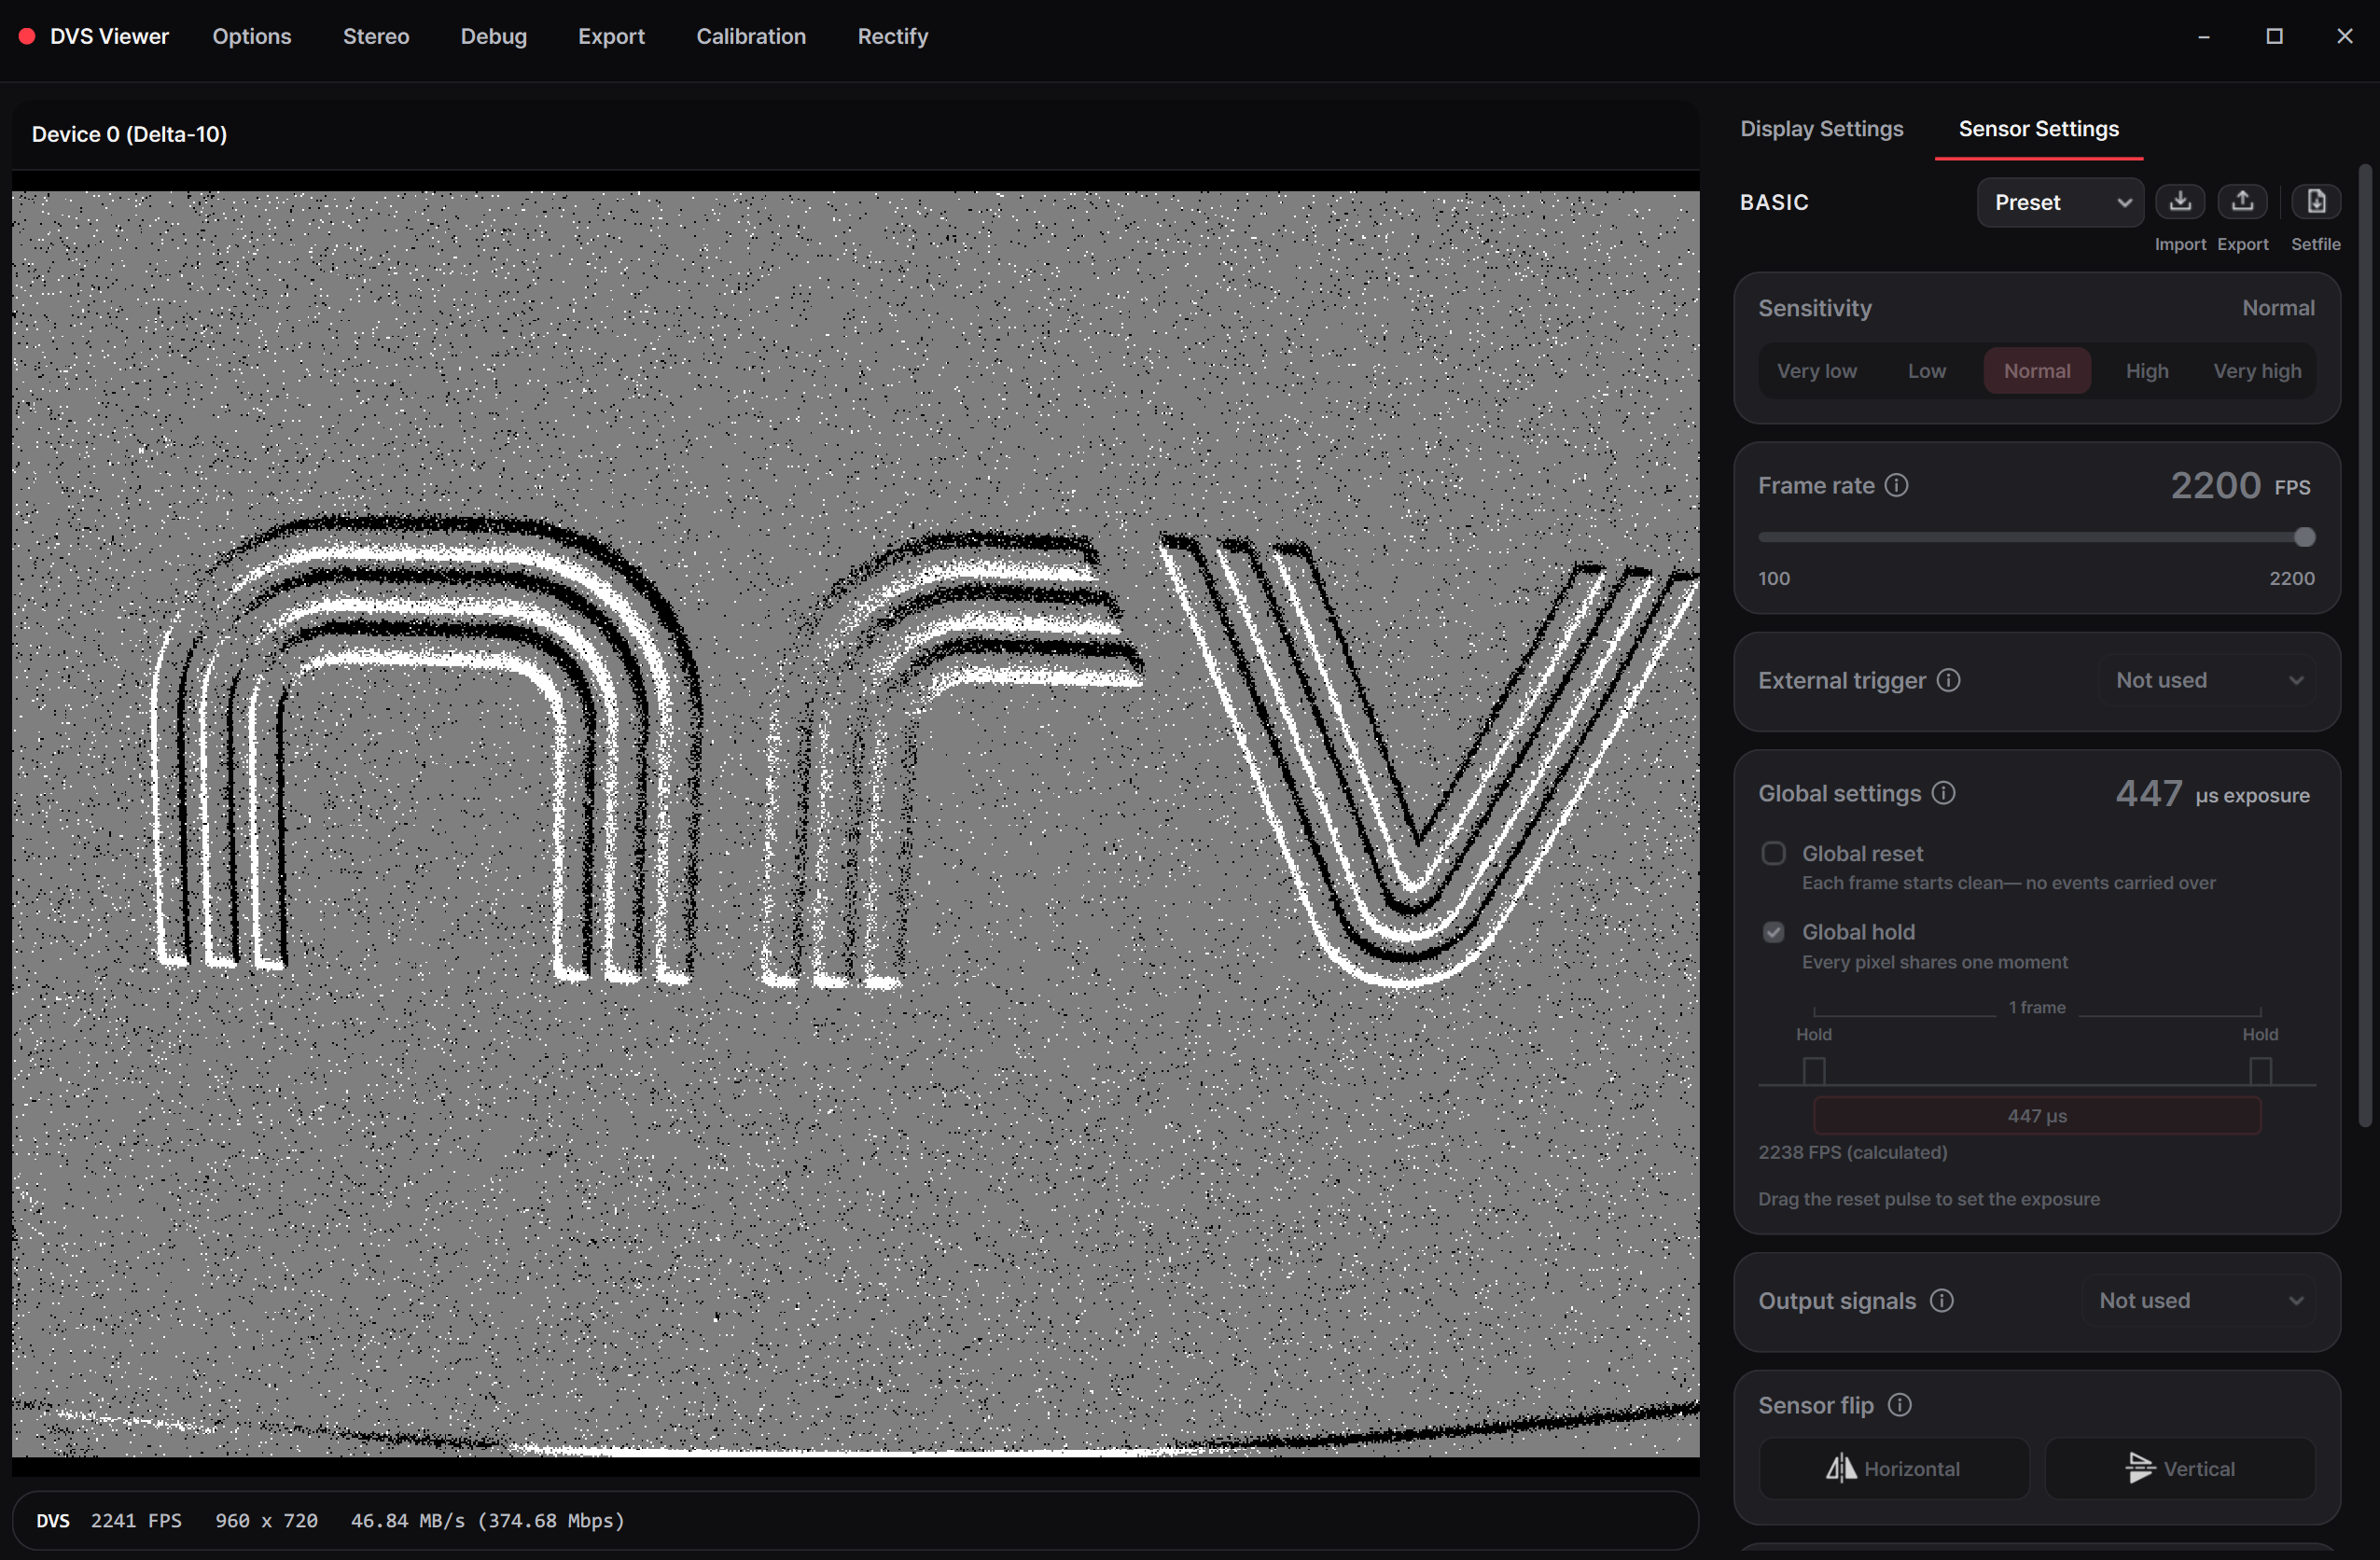
Click Start in the camera toolbar. Events appear in the image area, and the bottom status bar reports the incoming frame rate, resolution, and USB data rate. Hover over the image to reveal the toolbar again; its Stop control pauses camera acquisition.
While streaming, camera-setting and sensor controls are disabled. Stop streaming and finish recording before changing the setting file, sensor settings, or USB parameters, then start again.
Display settings
Choose how events form an image
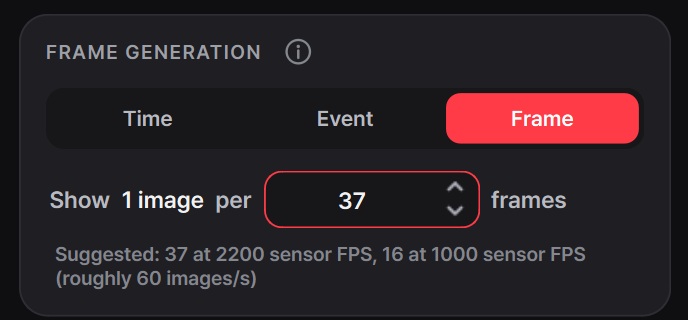
Display Settings → Frame Generation controls how incoming events are grouped into images. In File Player, the same controls appear under Player Settings.
Choose the mode and interval before starting live streaming. Pause file playback before changing them.
| Mode | One image contains |
|---|---|
| Time | Events within the selected interval of sensor time, in milliseconds. |
| Event | Events accumulated up to the selected event count. The image rate follows scene activity. |
| Frame | Events accumulated across the selected number of sensor frames. |
For an approximately 60-image/s preview, the Viewer suggests 17 ms in Time mode, or 37 frames at 2,200 sensor FPS and 16 frames at 1,000 sensor FPS in Frame mode. Actual screen updates also depend on scene activity, playback speed, and rendering performance.
Advanced USB settings
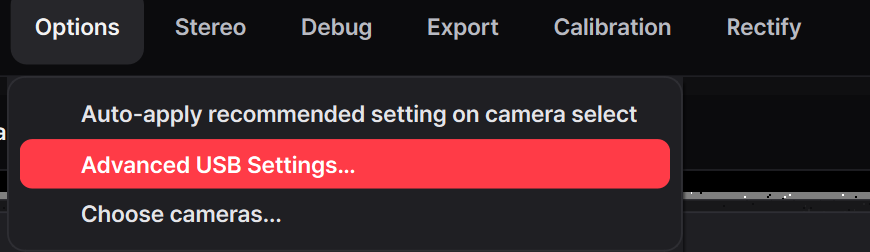
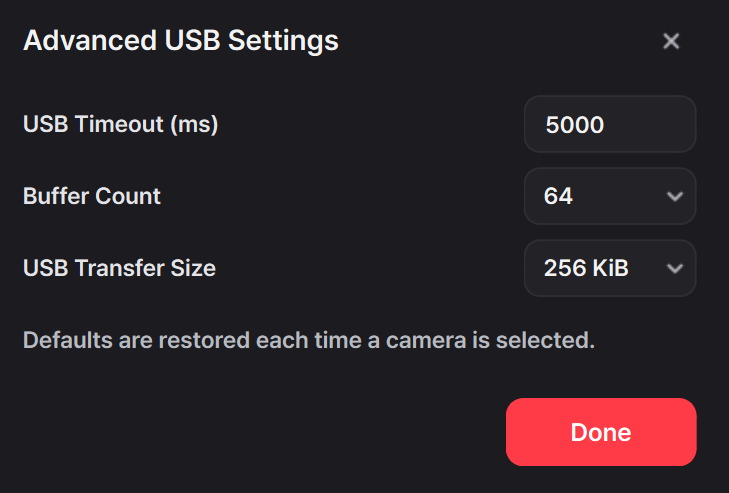
Open Options → Advanced USB Settings… while stopped. Keep the camera-selected defaults for normal use. Defaults are restored each time you select a camera.
| Control | Purpose |
|---|---|
| USB Timeout (ms) | Time allowed for a USB transfer to complete. The standard value is 5,000 ms. |
| Buffer Count | Number of USB receive buffers. The standard value is 64. |
| USB Transfer Size | Amount requested in each USB transfer. The DELTA-10 default shown above is 256 KiB; DELTA-01 uses its own camera default. |
These are host transfer settings. Use Sensor Settings → Frame rate to change the sensor's capture rate.
Record data
Start live streaming, then open Display Settings → Save Option. Choose the format and check Save location and the available disk space. Change… selects a different recording folder.
| Format | Available during | Saved content | Folder under the save location |
|---|---|---|---|
| Raw .dvs | Live streaming | Camera data before image generation. Recommended for high-speed capture and later playback. | RawDataSave |
| Image .bmp | Live streaming or file playback | Images produced by Frame Generation. | MatSave |
| Video .avi | Live streaming or file playback | A video made from generated images. | MatSave |
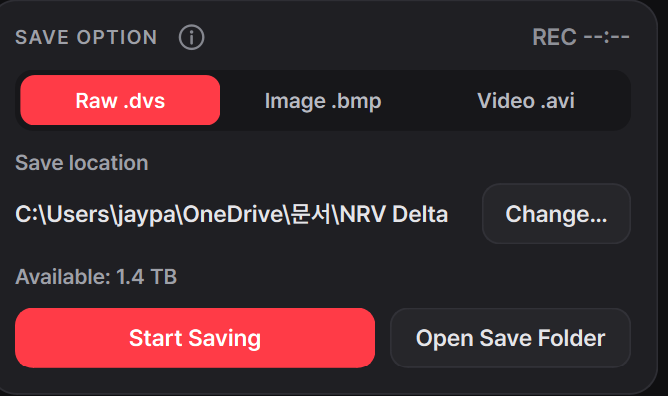
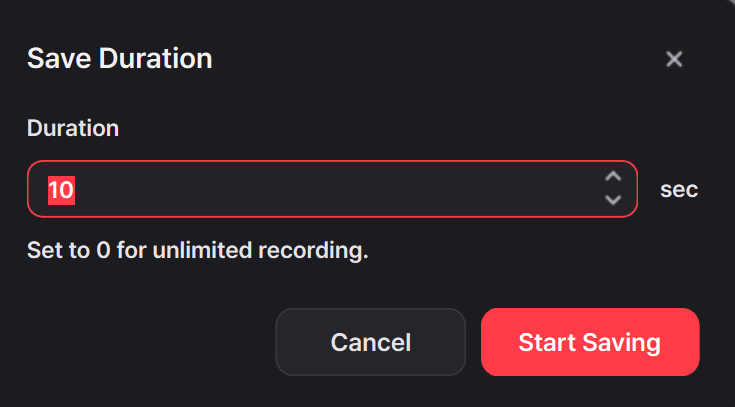
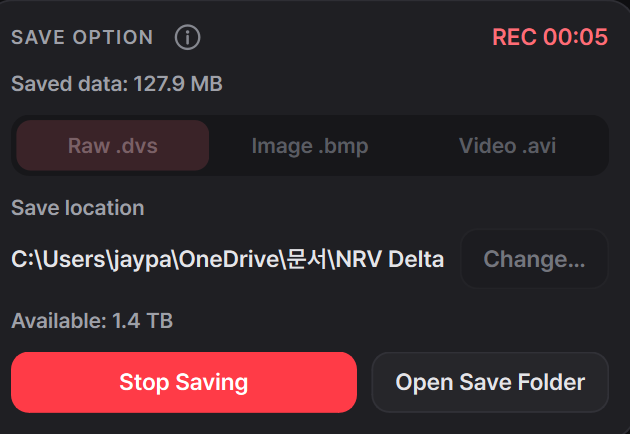
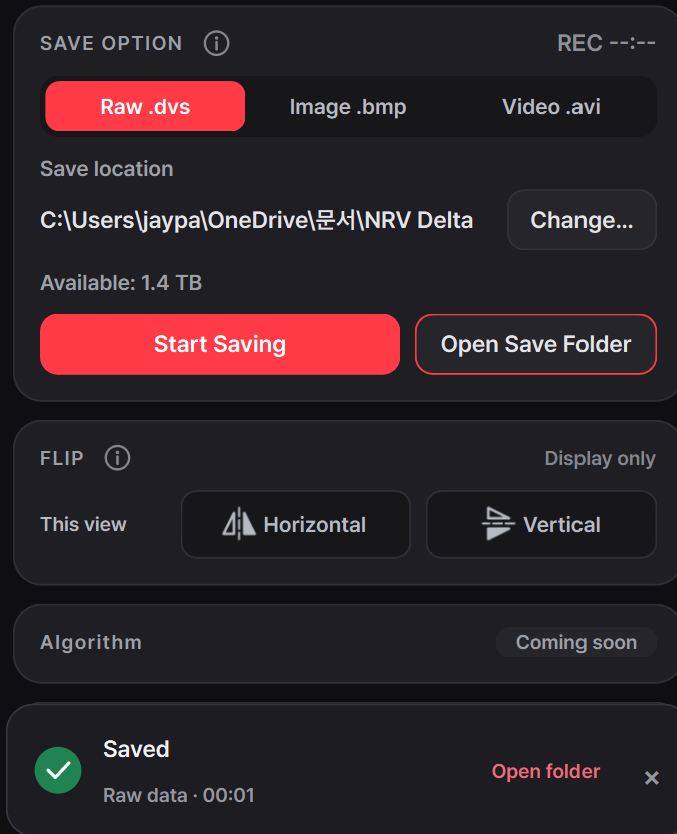
After capture stops, the Viewer may still be finishing disk writes. Wait for the completion notice before disconnecting a recording drive or closing the application. If the Viewer reports a save failure or incomplete recording, check that message before using the result.
Save images or video
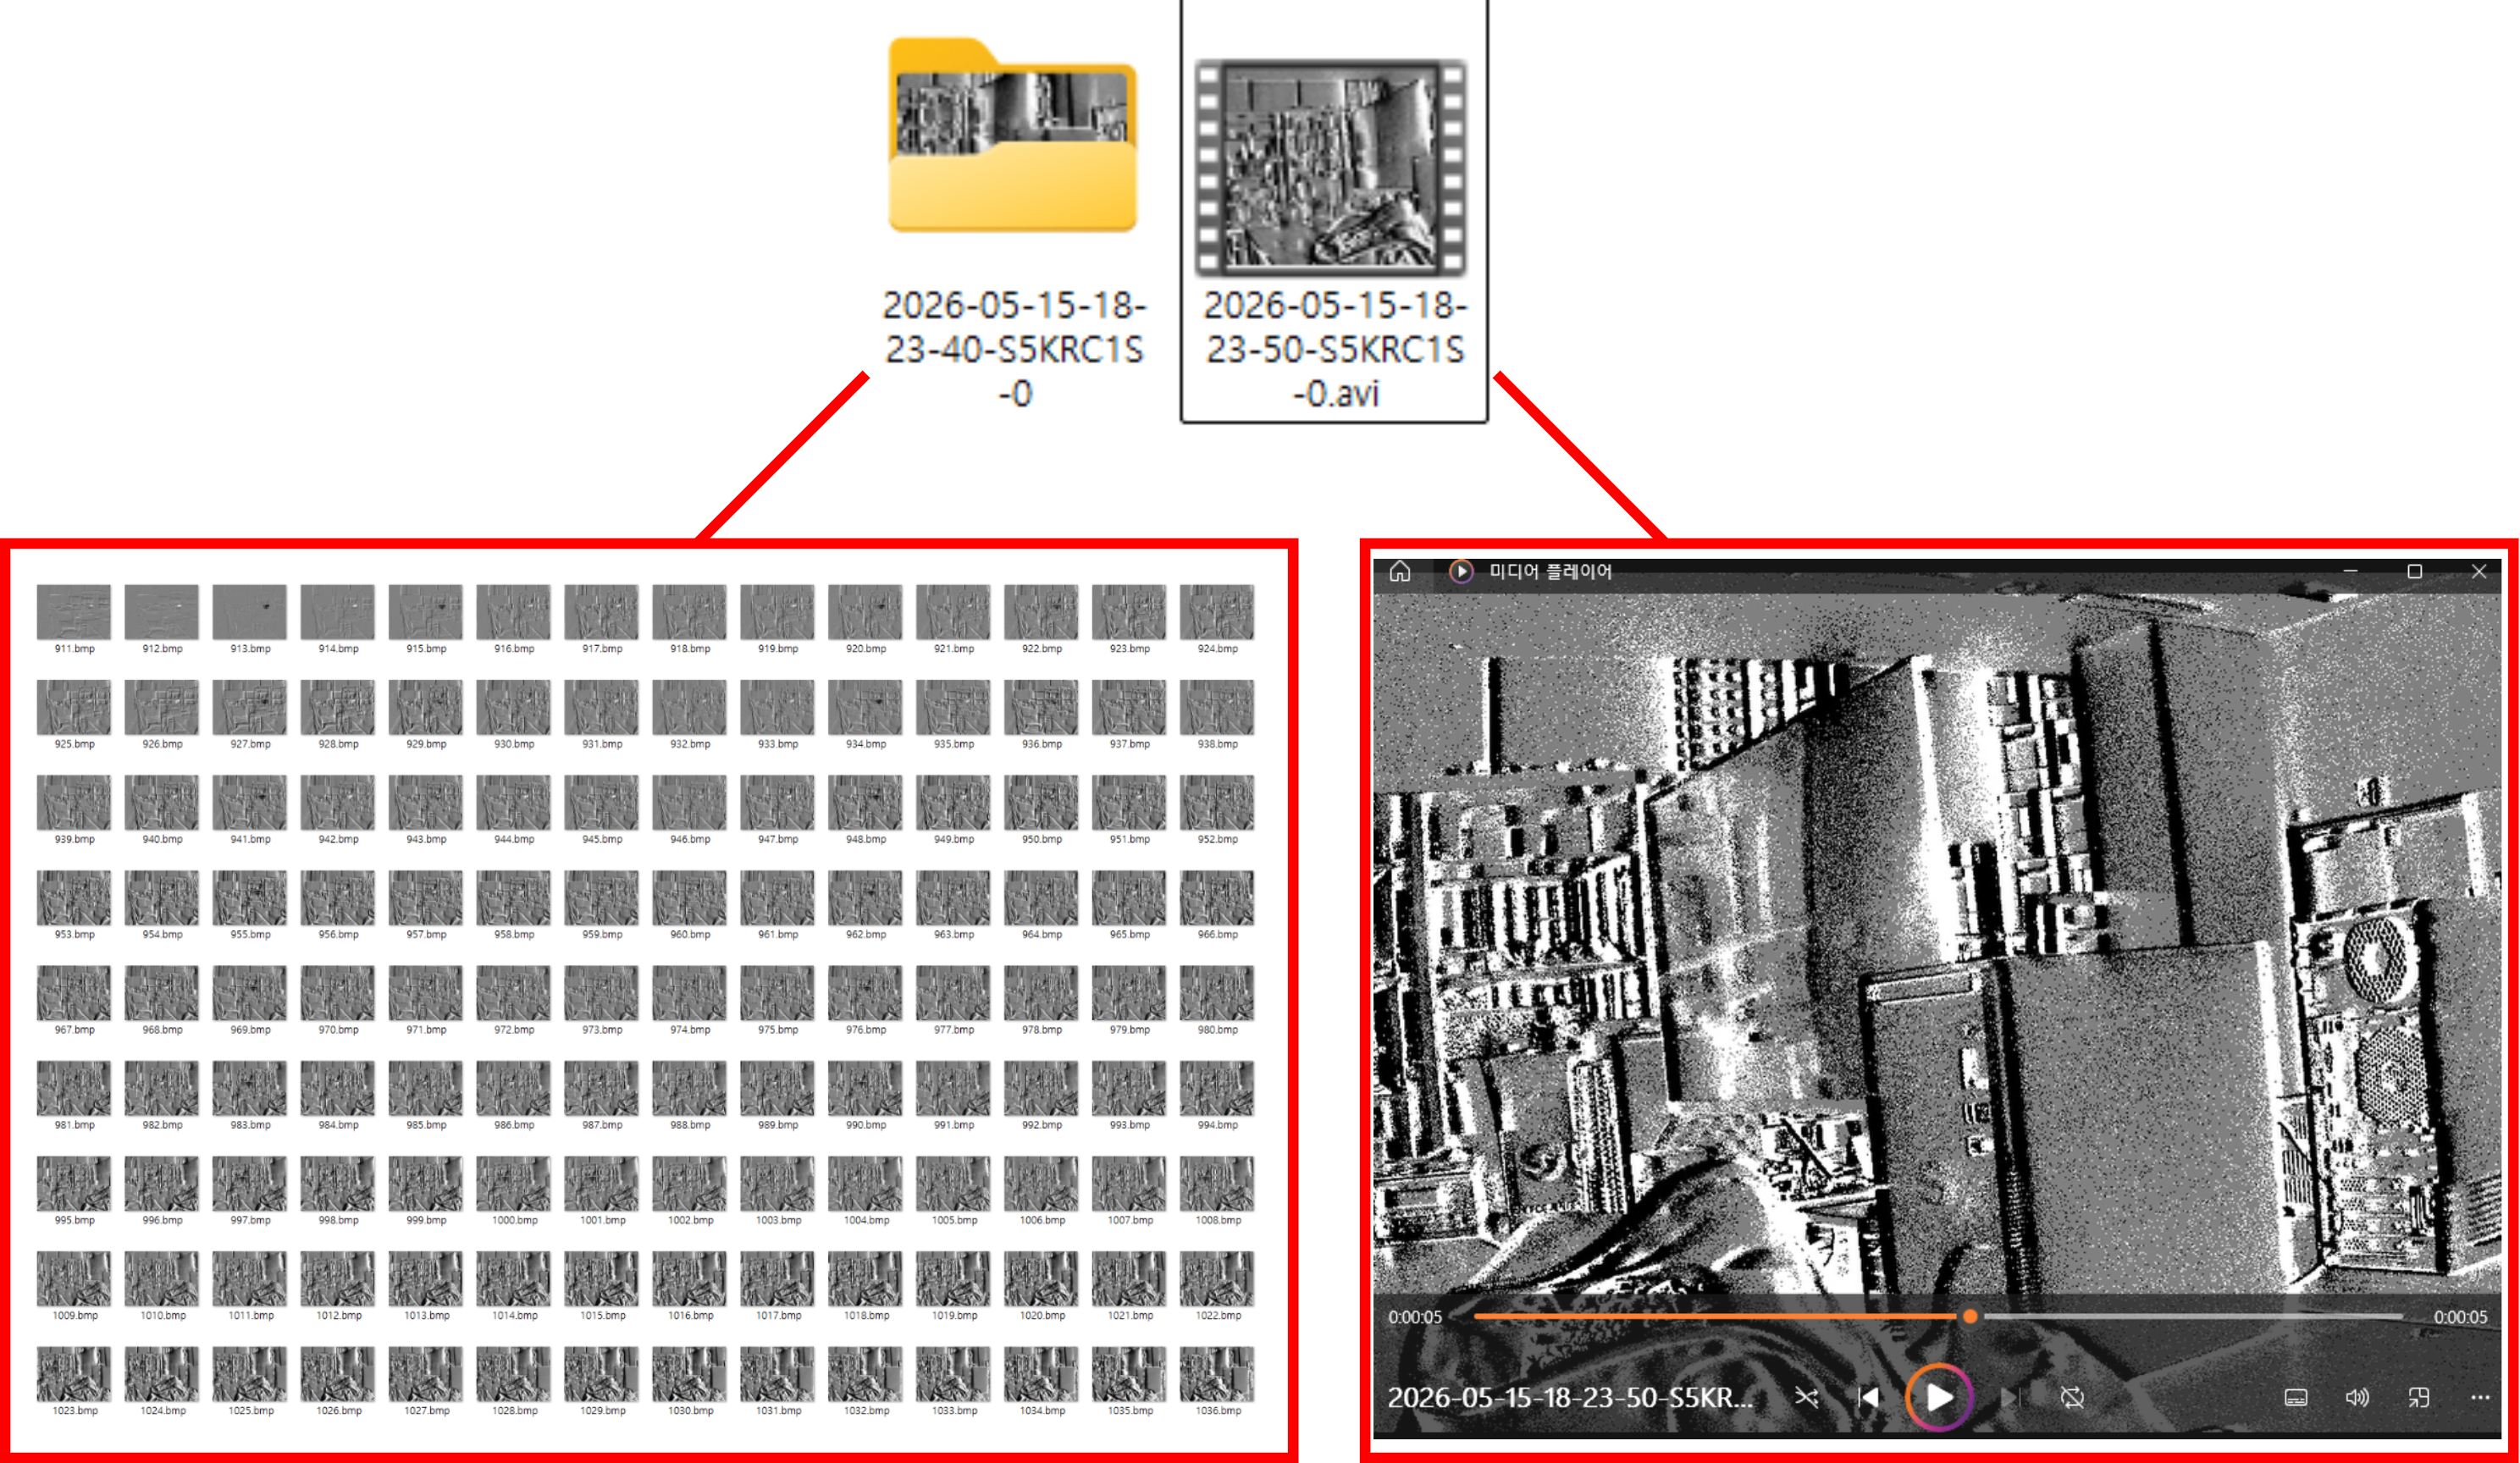
Select Image .bmp to save each generated image as a separate bitmap. Select Video .avi to combine generated images into a video. Both use the current Frame Generation mode and display colors, so choose those settings before saving.
The results are stored under MatSave in your selected save location: an image sequence has its own folder, while a video is saved as an .avi file. Use Open Save Folder to find them.
File playback
Open a recording
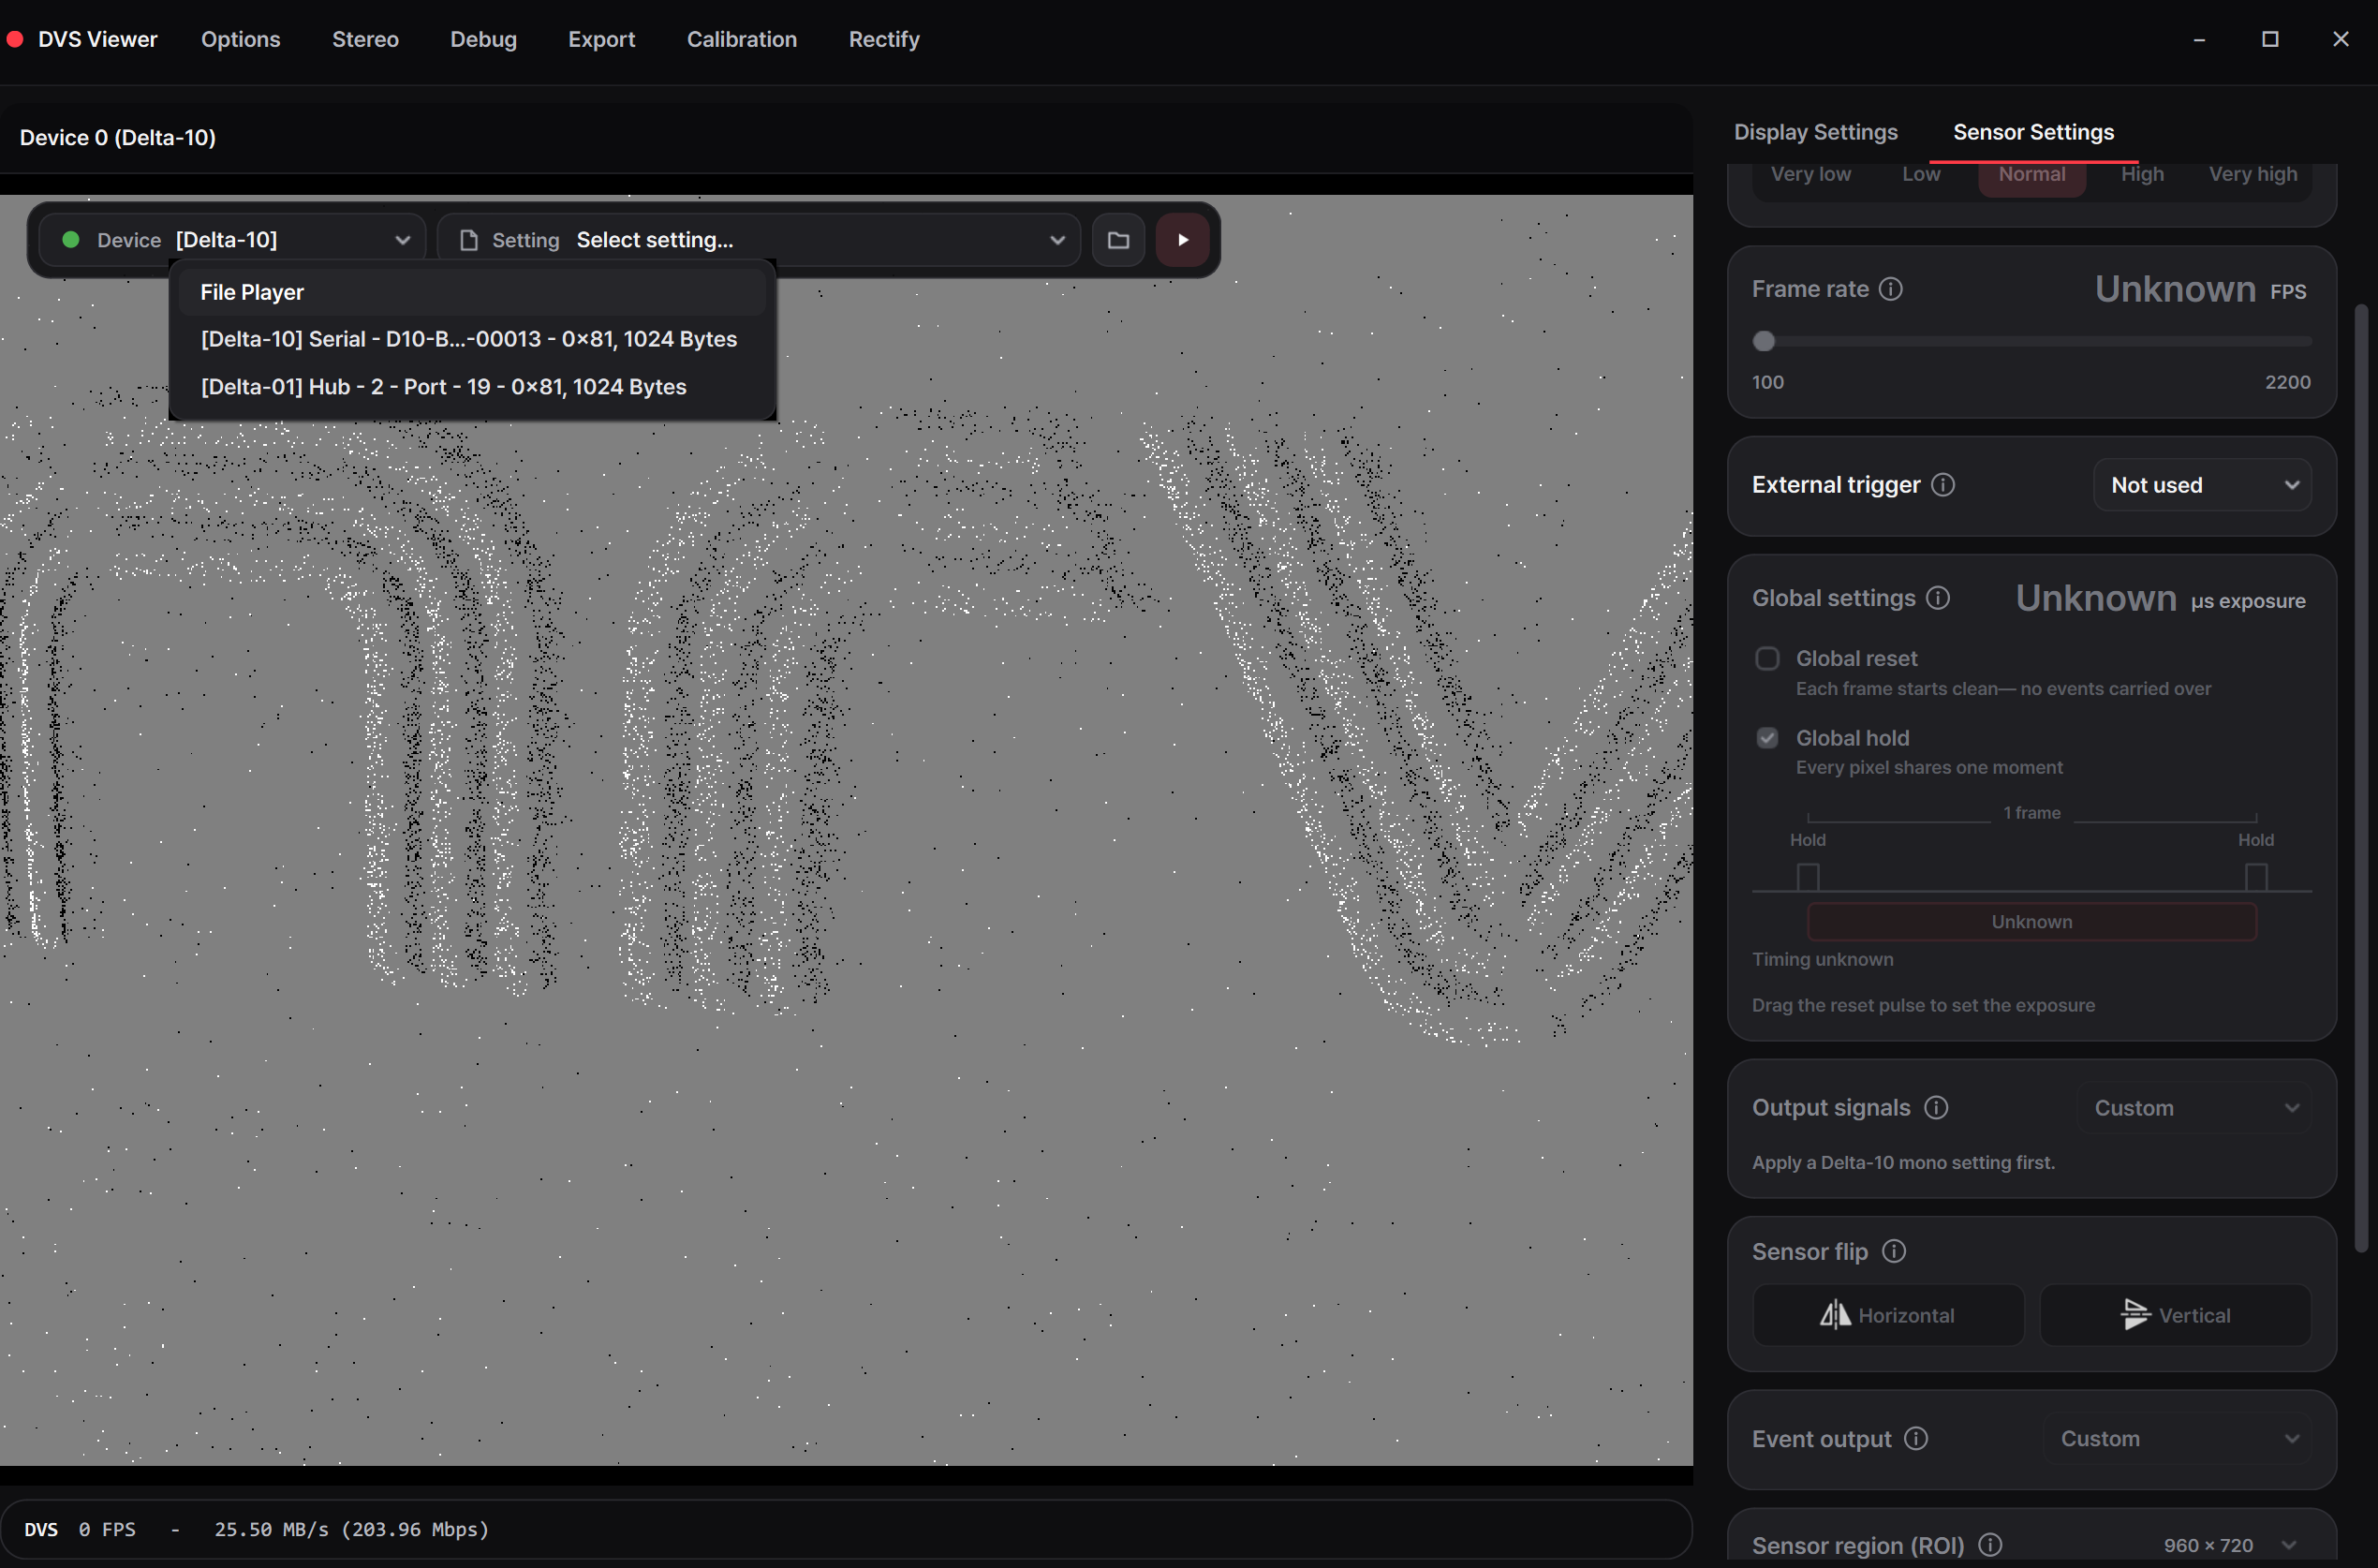
Choose Open File Instead on the initial device screen, or select File Player in the camera's Device menu. No connected camera is required to replay a DVS recording.
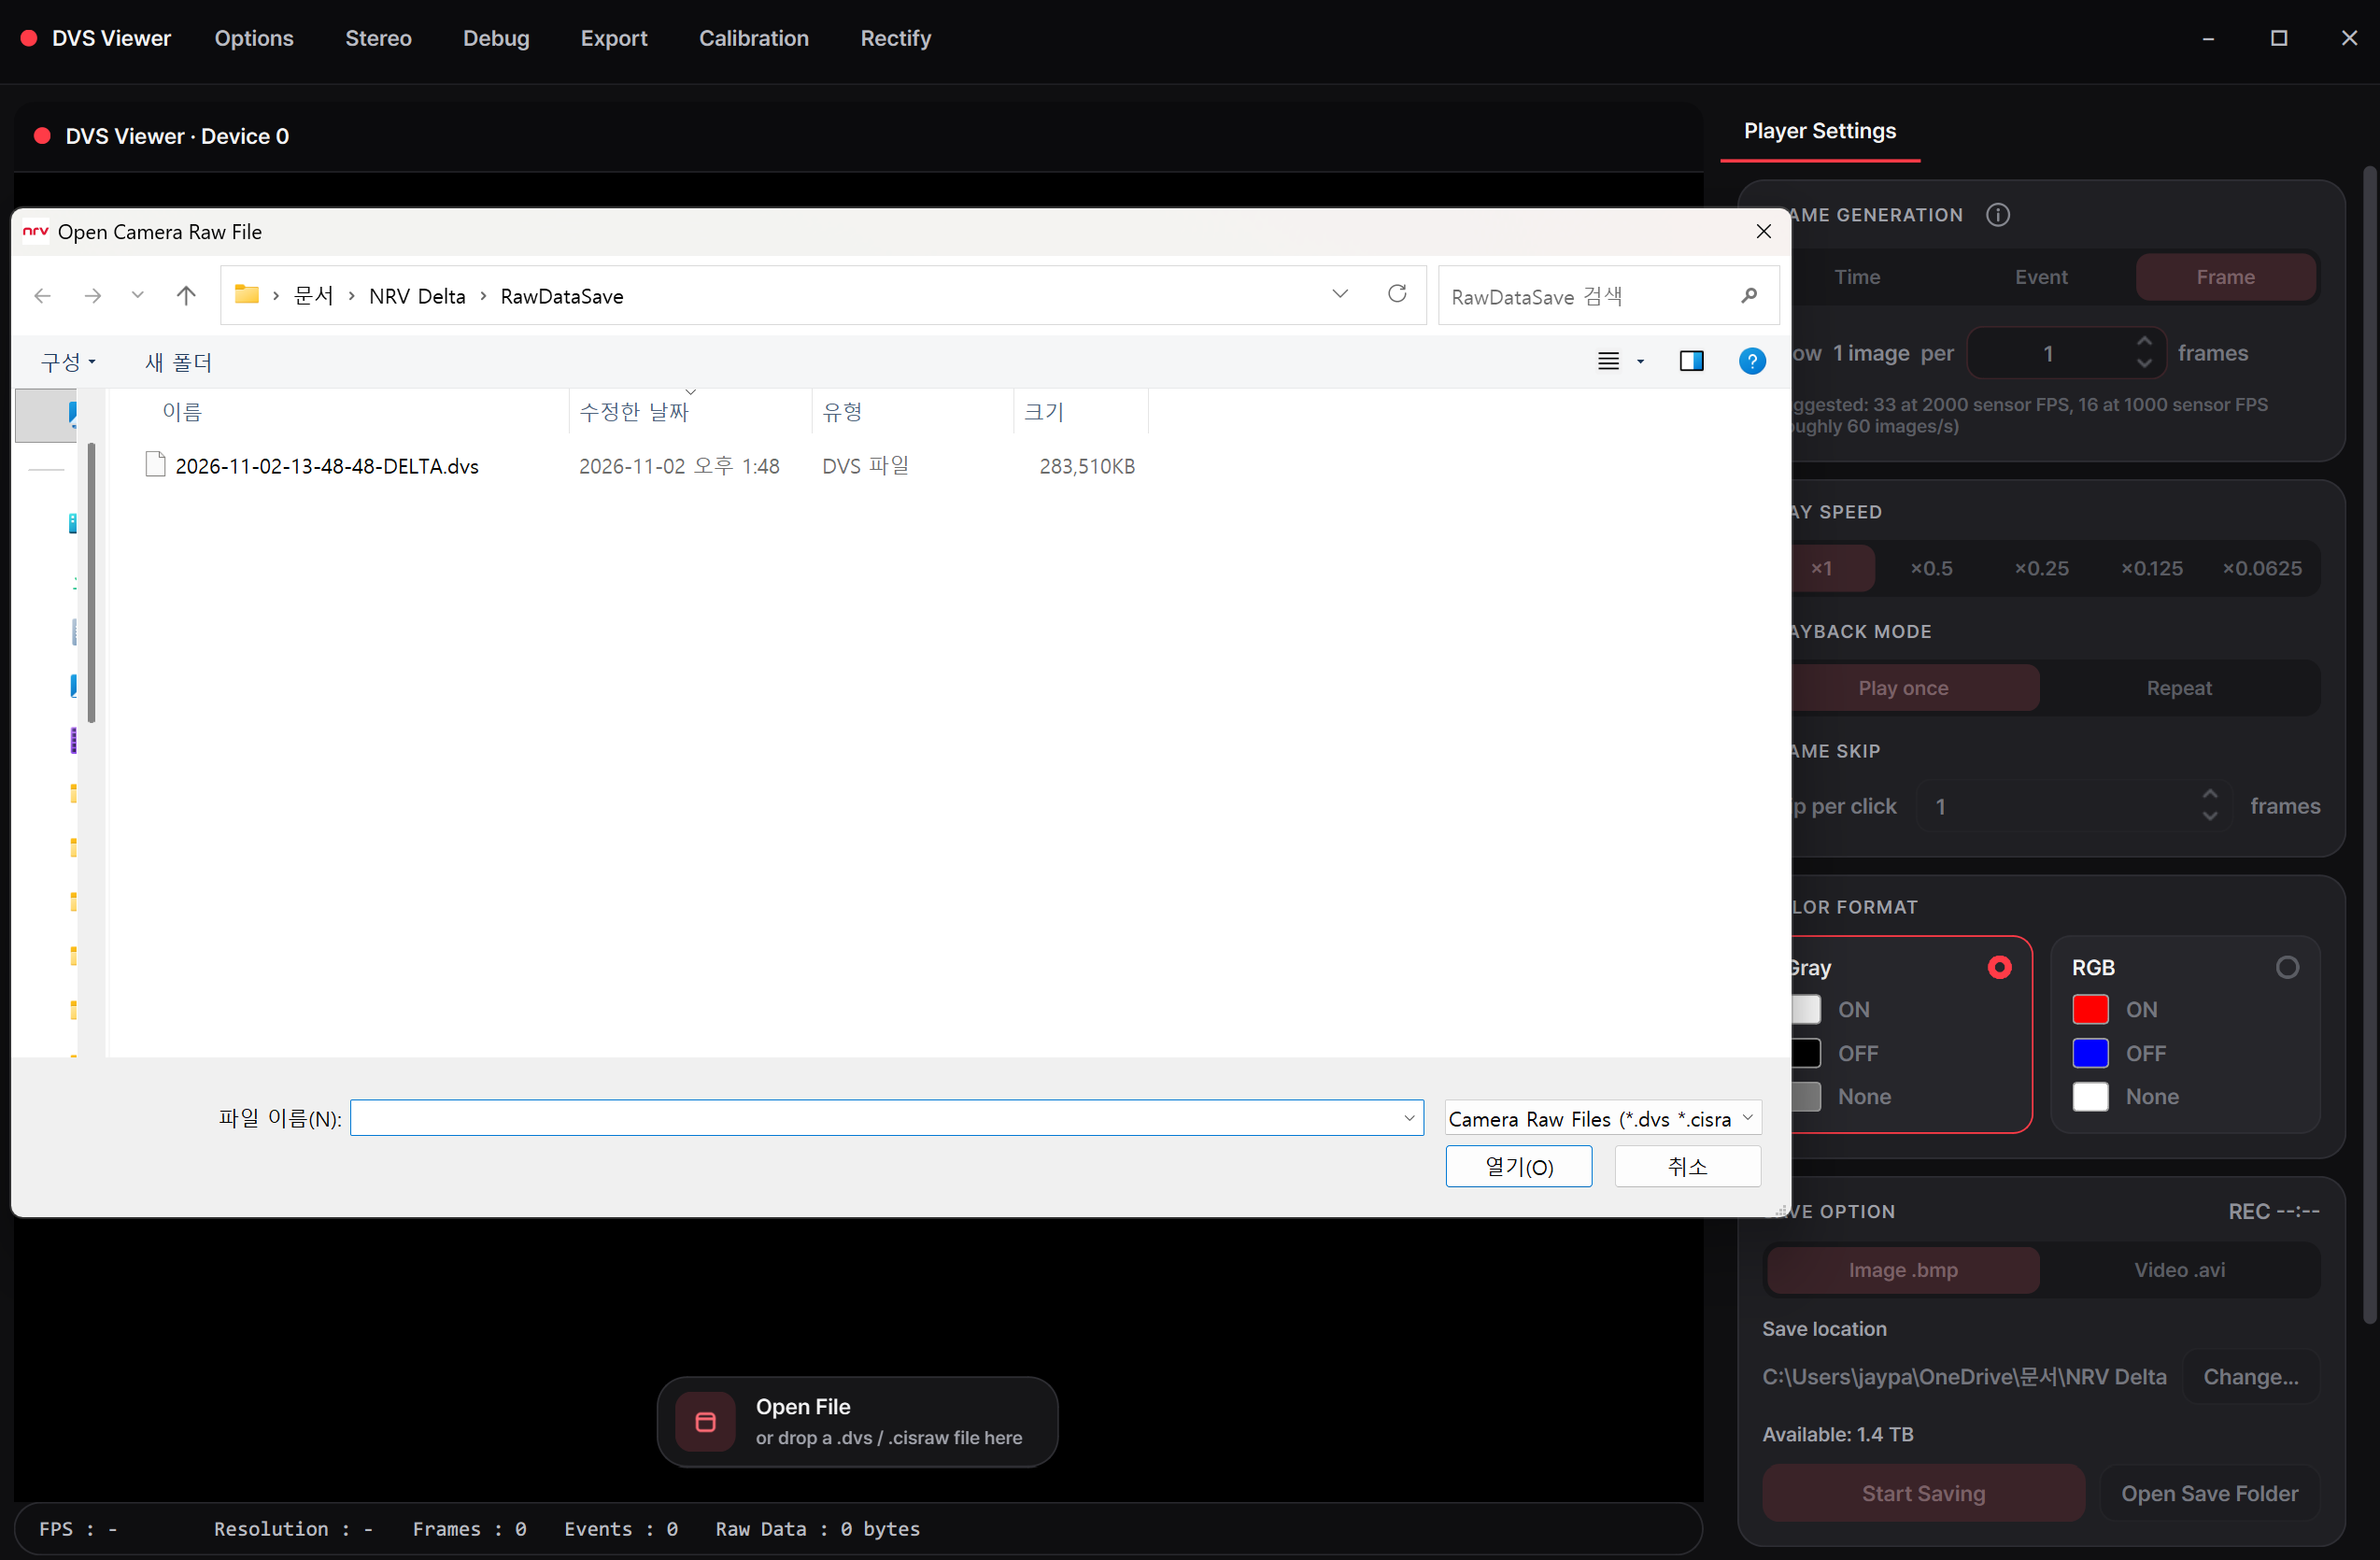
Click Open File in the image area, or drag a .dvs file onto it. The file dialog starts in the current recording folder. The player also accepts supported .cisraw camera recordings; the event display controls below describe DVS .dvs files.
Play, pause, and move through the file
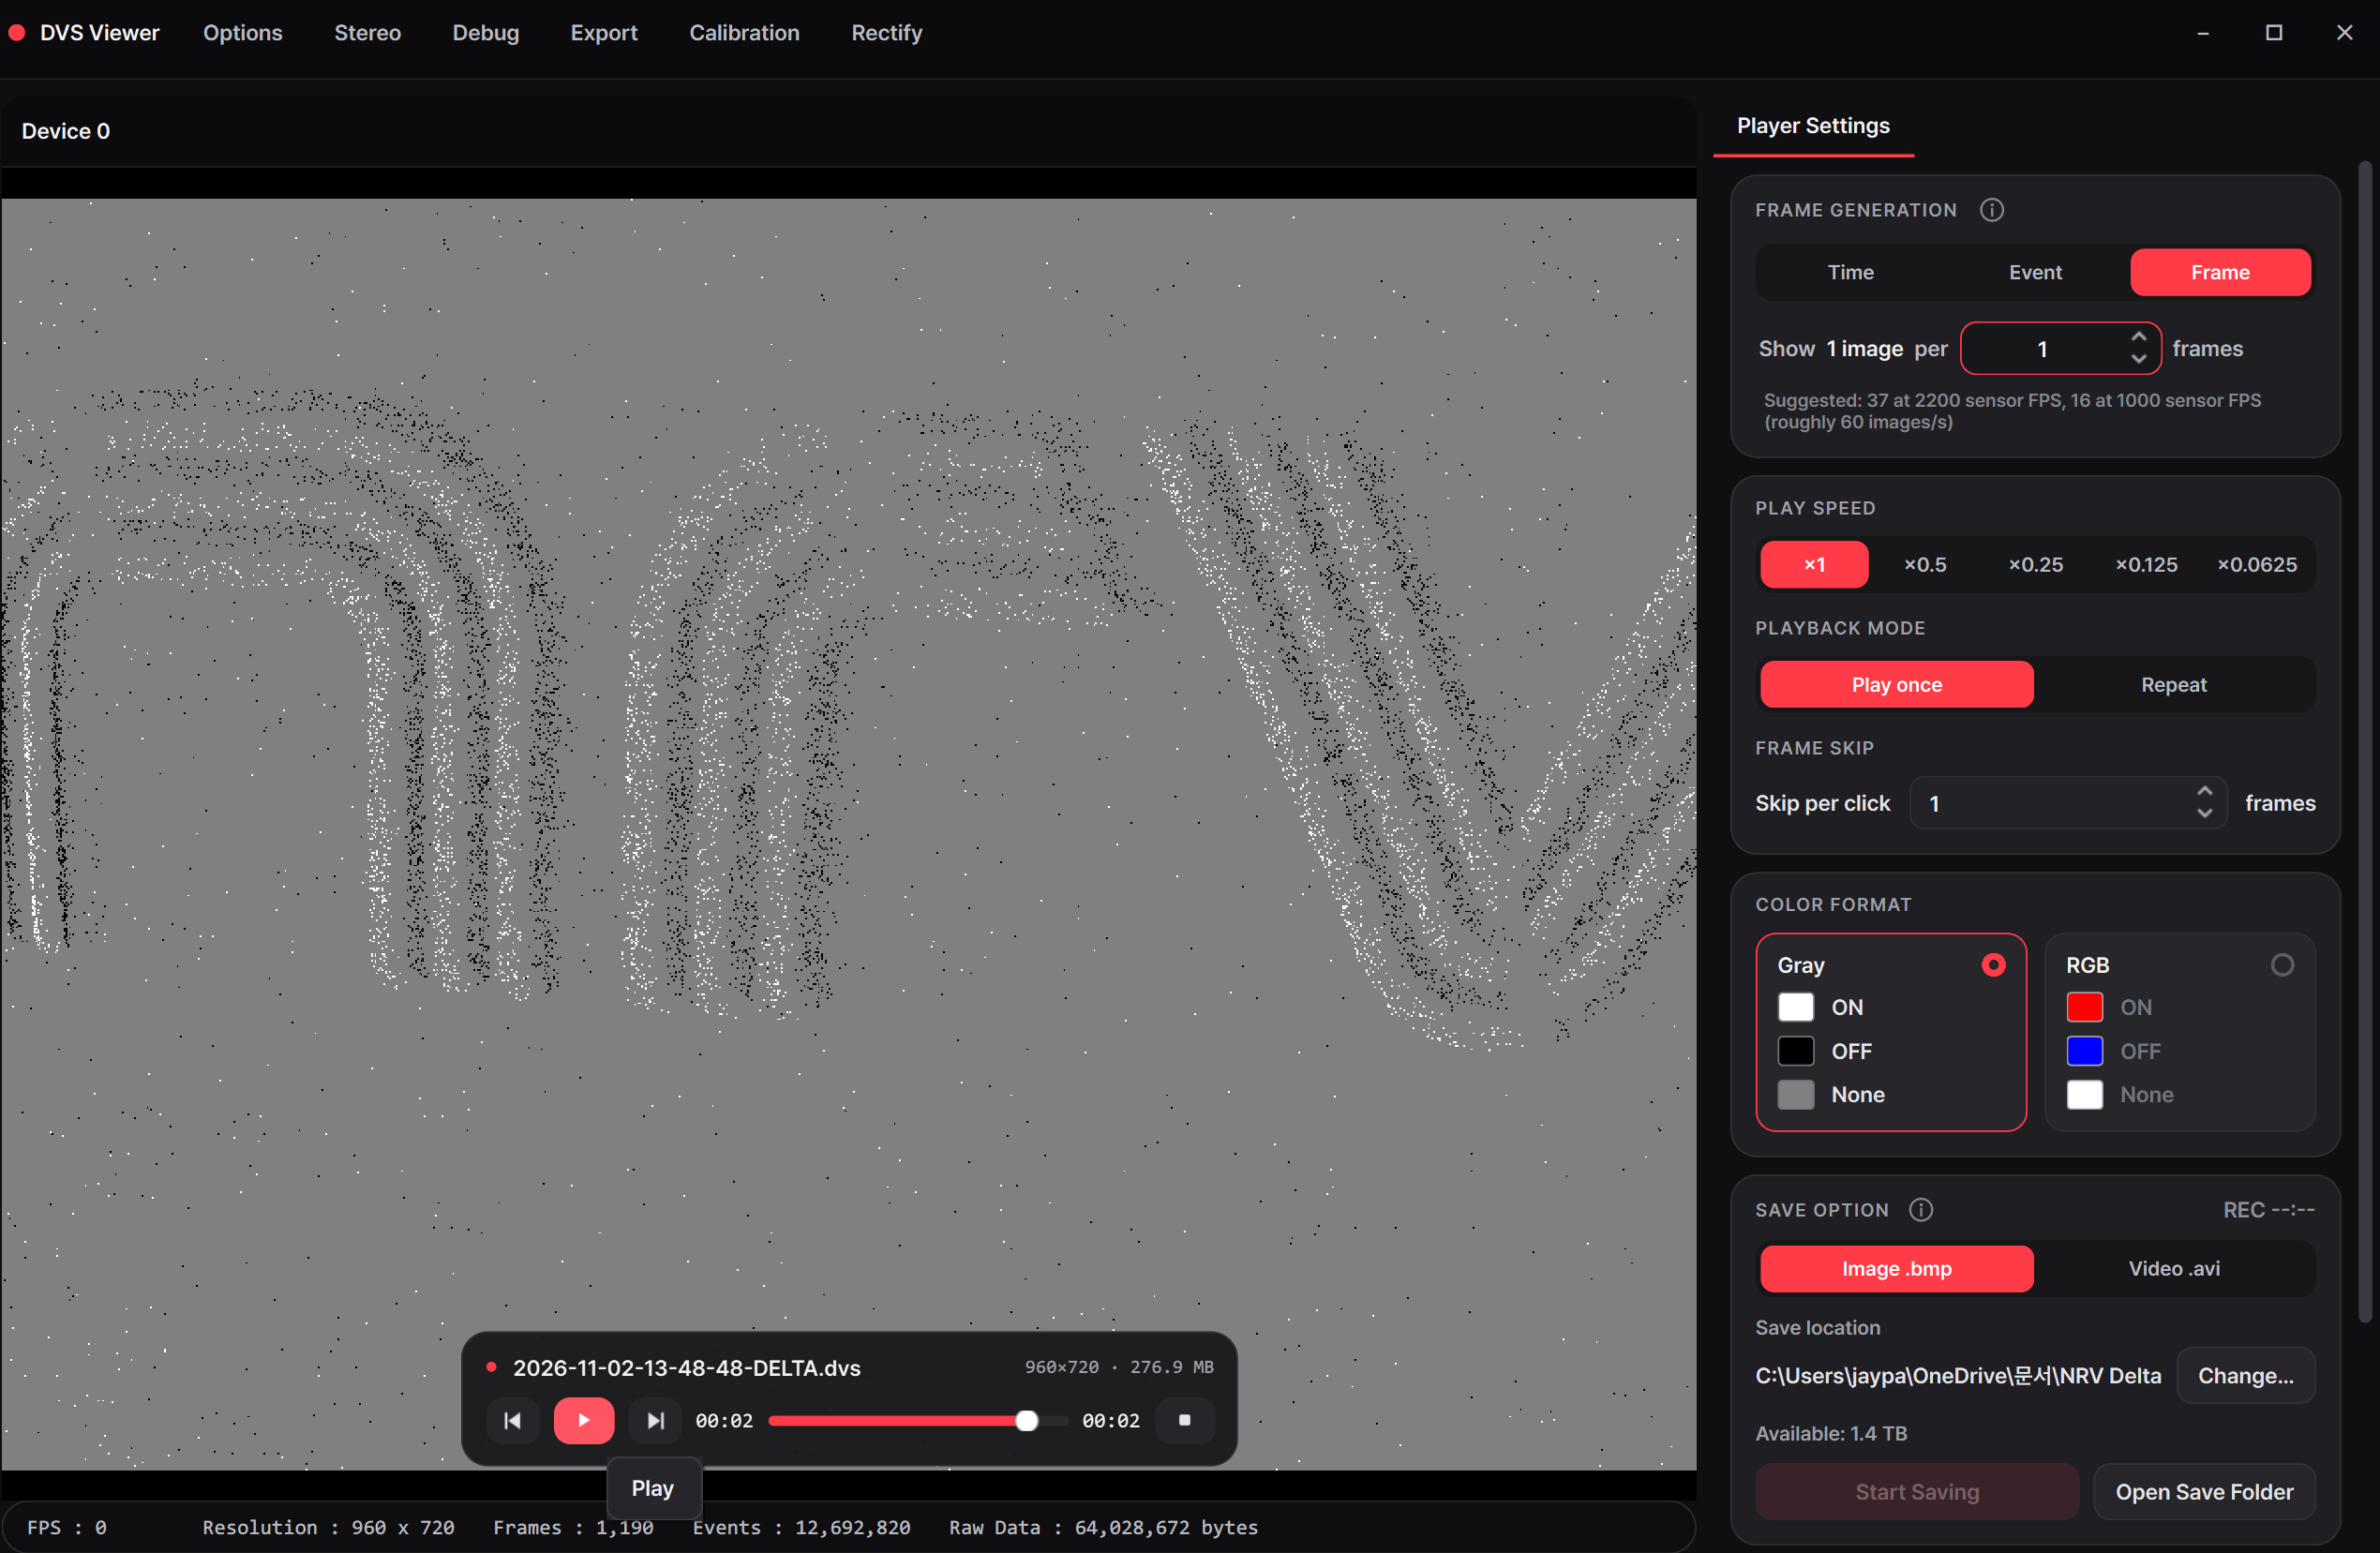
Move the pointer over the image to reveal the playback toolbar near the bottom. The toolbar shows the filename, elapsed and total time, and playback controls.
| Button | What it does |
|---|---|
| 1. Previous — left arrow with a bar | Move backward by the number in Frame Skip → Skip per click. The Left arrow key performs the same action. |
| 2. Play / Pause — triangle / two bars | The triangle starts or resumes playback. It changes to two bars while playing; click again to pause at the current position. |
| 3. Next — right arrow with a bar | Move forward by Skip per click frames. The Right arrow key performs the same action. |
| 4. Timeline — slider between the two time labels | Drag the handle to move to another point in the recording. The labels show the elapsed and total time. |
| 5. Close File — square at the far right | Close and unload the current recording, returning to file selection. Use Play / Pause to keep the current file open while paused. |
Full File Player window
| Player setting | Action |
|---|---|
| Play Speed | Choose ×1, ×0.5, ×0.25, ×0.125, or ×0.0625. |
| Playback Mode | Choose Play once or Repeat. |
| Frame Skip → Skip per click | Set the number of frames moved by each Previous / Next click or left / right arrow key press. |
The bottom status bar shows the resolution and frame, event, and raw-data counts as the file is processed. Pause playback to change Frame Generation, then resume to inspect the recording with the new image grouping.
Gray and RGB display
Choose Color Format under Player Settings. These controls change how the recorded ON and OFF events are drawn.
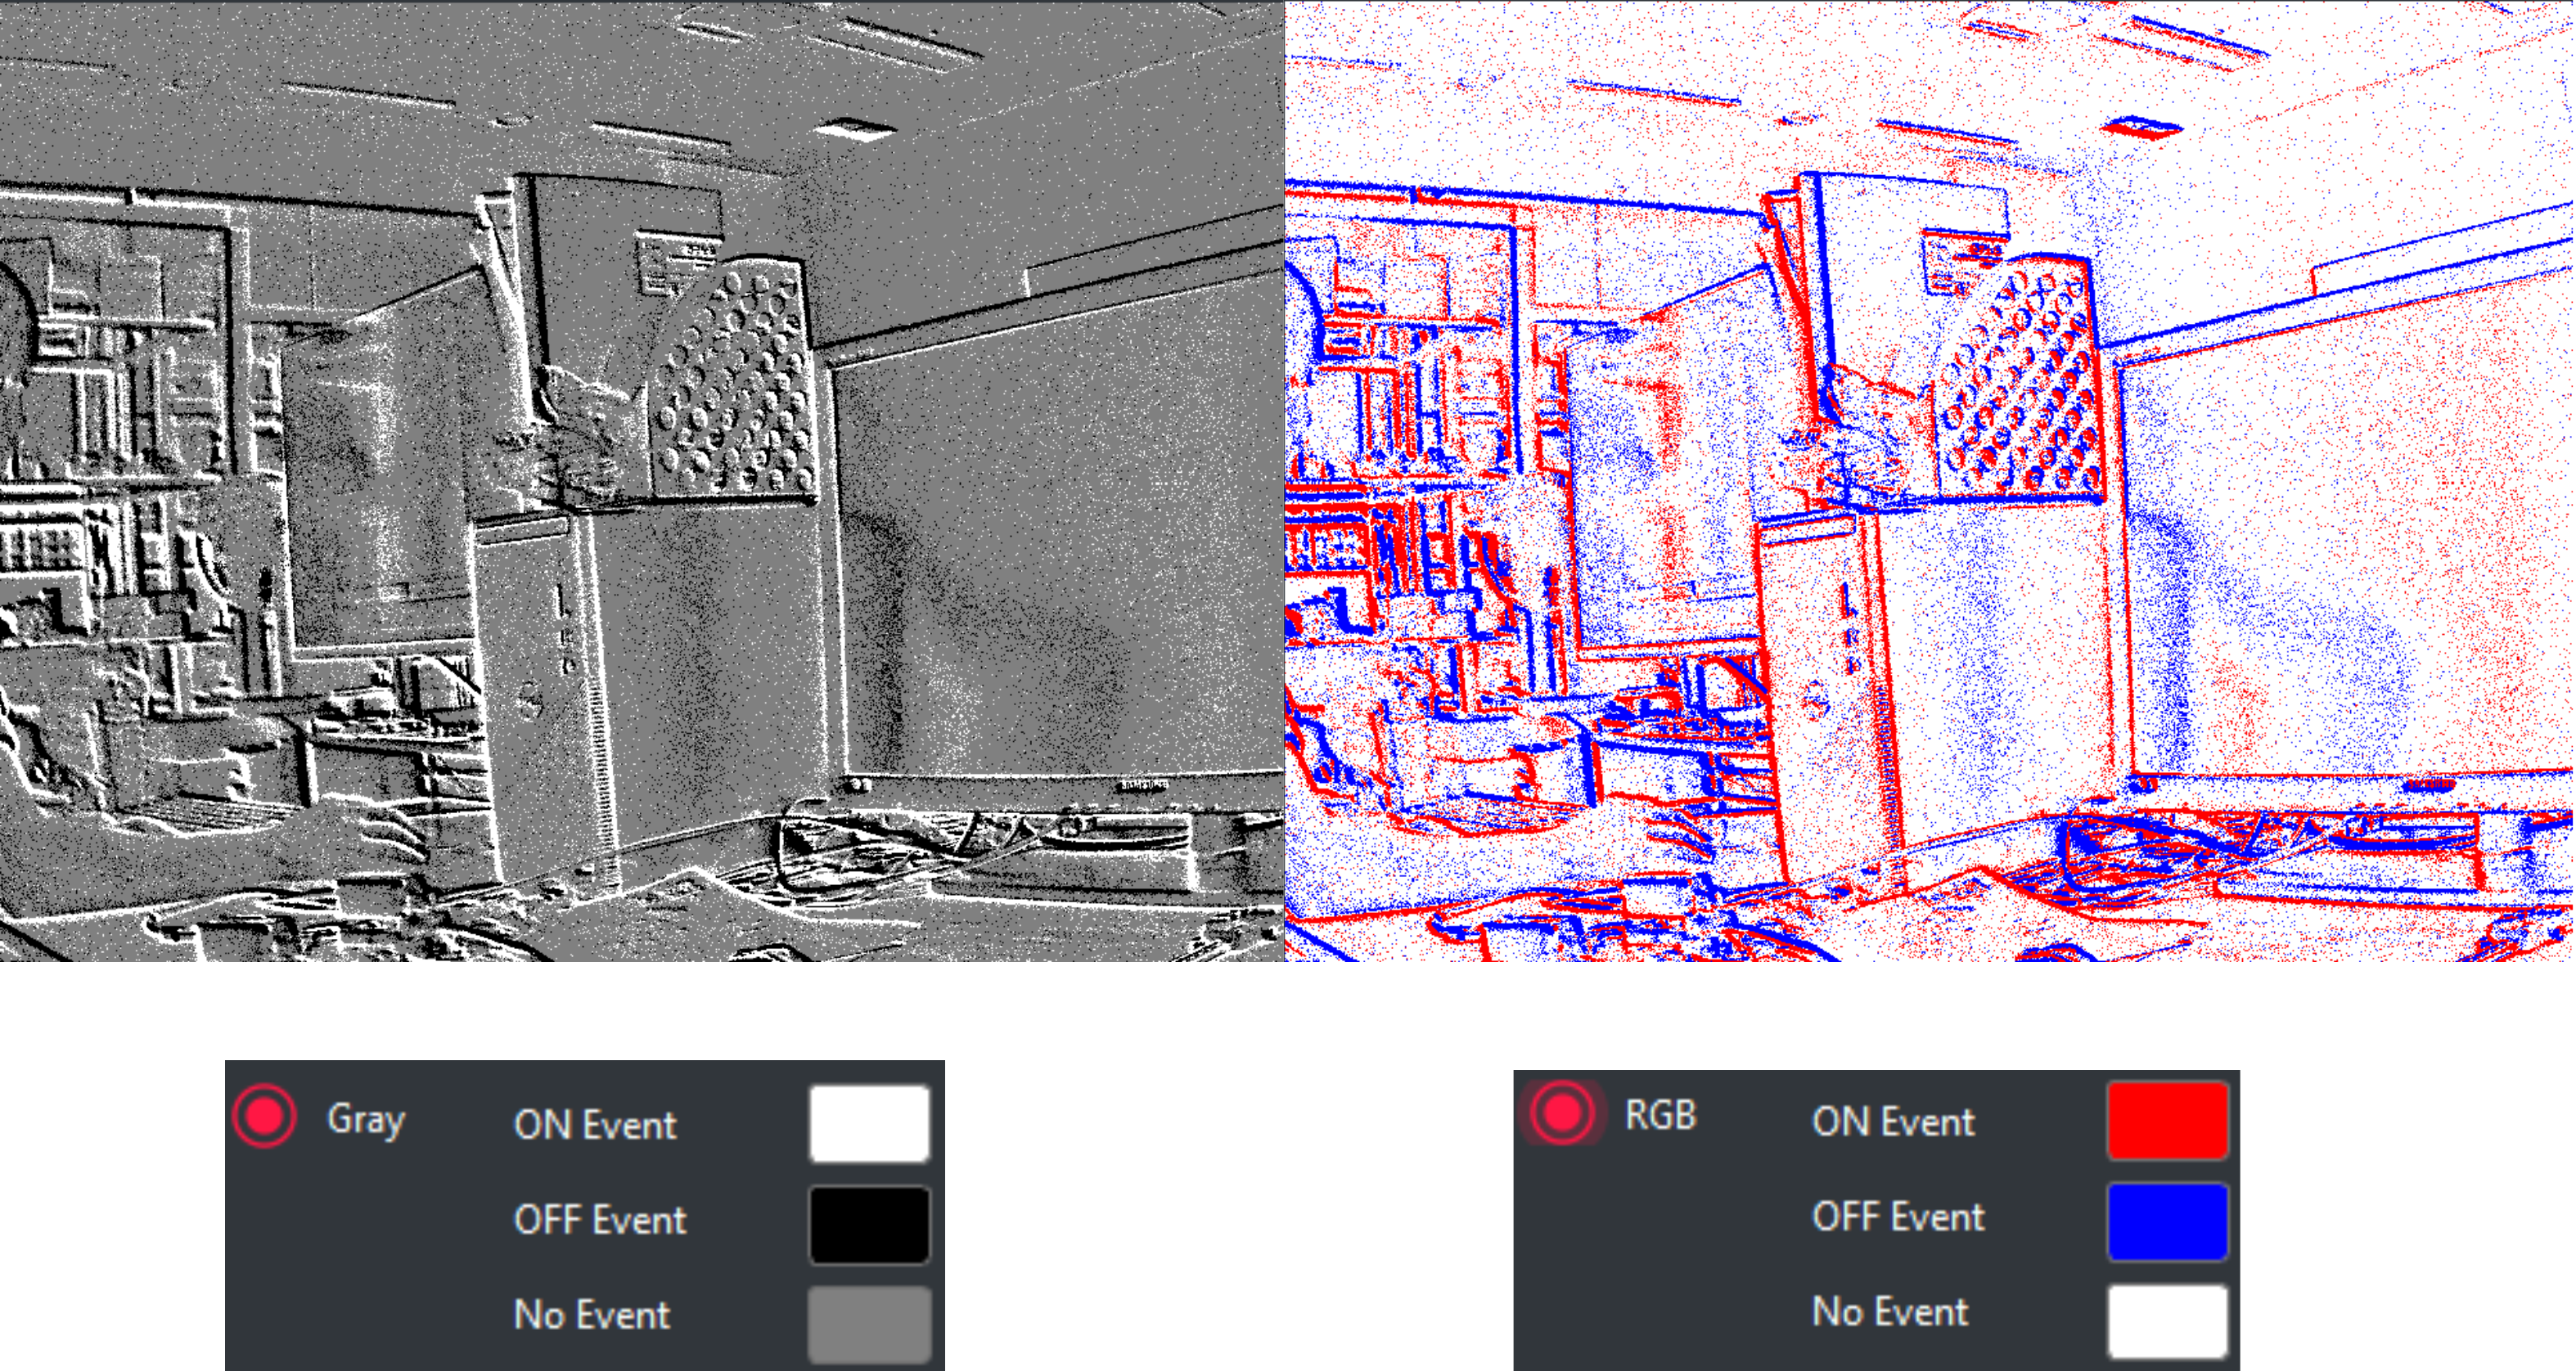
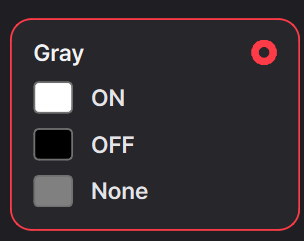
ON: white · OFF: black · no event: gray.
The Gray colors are fixed.
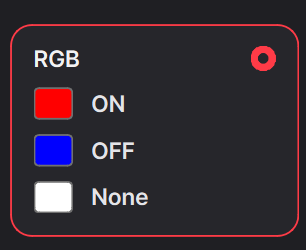
Default ON: red · OFF: blue · no event: white.
Click a color swatch to customize it.
Sensor settings
Apply a camera setting and stop streaming to use Sensor Settings. These controls change the camera's output. The Sensor Controls guide explains individual features, and Camera Interfaces shows the ports and cable connections for external equipment.
| Control | What you can change |
|---|---|
| Sensitivity | Select Very low through Very high. Higher sensitivity detects smaller brightness changes and generally produces more events. |
| Frame rate | Select a target in 50 FPS steps: DELTA-01 100–1,000 FPS; DELTA-10 100–2,200 FPS with its standard full-sensor profile. |
| Global settings | Global Reset synchronizes the pixels' brightness reference. Global Hold fixes the end of the brightness-change measurement interval across pixels. See Global Reset and Global Hold for the measurement principle. |
| External trigger | Choose free-running capture or one of the three trigger modes. See External Trigger. |
| Output signals / Clock source | Use DELTA-10's output signals or external reference clock. |
| Sensor flip | Flip the camera output horizontally, vertically, or both. See Sensor Flip. |
| Event output | Select both polarities, OFF only, ON only, or All as ON. See Event Output. |
| Sensor region (ROI) | Move or resize the region, enter coordinates, or select SD / Full sensor. See Sensor Region. |
For external trigger operation, keep the reset settings applied by the selected trigger mode. Follow the trigger guide when setting up an external signal.
Keep and reuse a sensor configuration
The BASIC row provides a Preset list and three file actions:
- Import opens a portable
.jsonsensor preset. Apply presets to the matching camera model while stopped. - Export saves the current sensor configuration as a portable
.jsonpreset. - Setfile generates a
.txtcamera setting file for reuse from the Setting menu.
The FLIP card marked Display only mirrors the current view. Use Sensor flip when you want the change to be made by the sensor and included in the camera's output.
More Viewer tools
| Menu | Use it for |
|---|---|
| Options | Recommended-setting auto-apply, Advanced USB Settings, and choosing cameras again. |
| Stereo | Arrange the selected camera views and use the stereo recording controls for paired capture. |
| Debug → Packet analyzer | Inspect a recorded raw file or a live capture in the analyzer. |
| Export | Convert a .dvs recording to an HDF5 .h5 file. Select the source and output location, then export. |
| Calibration | Open the integrated calibration workflow. See Using the DVS Calibration App. |
| Rectify | Apply calibration results to the displayed images. See Use Rectify in Viewer. |